

Our One-Year Experience with Coppercoat: Does It Work?
One of the most important projects we undertook on our sailboat last winter was applying antifouling paint to the hull. However, we opted for a less conventional solution: Coppercoat—a coating made of epoxy resin and pure (99%) copper. This technology has received overwhelmingly positive reviews from users due to its excellent antifouling properties and long lifespan. Despite its higher initial cost, we decided that it would be a worthwhile investment over a 10-year period. By eliminating annual haul-outs, repeated purchases of antifouling paint, and significantly reducing labor, Coppercoat seemed like a smart choice for the long term.
What Is Coppercoat and How Is It Applied?
If you’re curious about the details of Coppercoat, we’ve written a separate article that explains exactly what it is, how it works, and how to apply it. Proper application is crucial for its performance since this is not a typical paint. Following the manufacturer’s instructions to the letter is essential. You can find all of this information here.

One Year Later: How Did Coppercoat Perform?
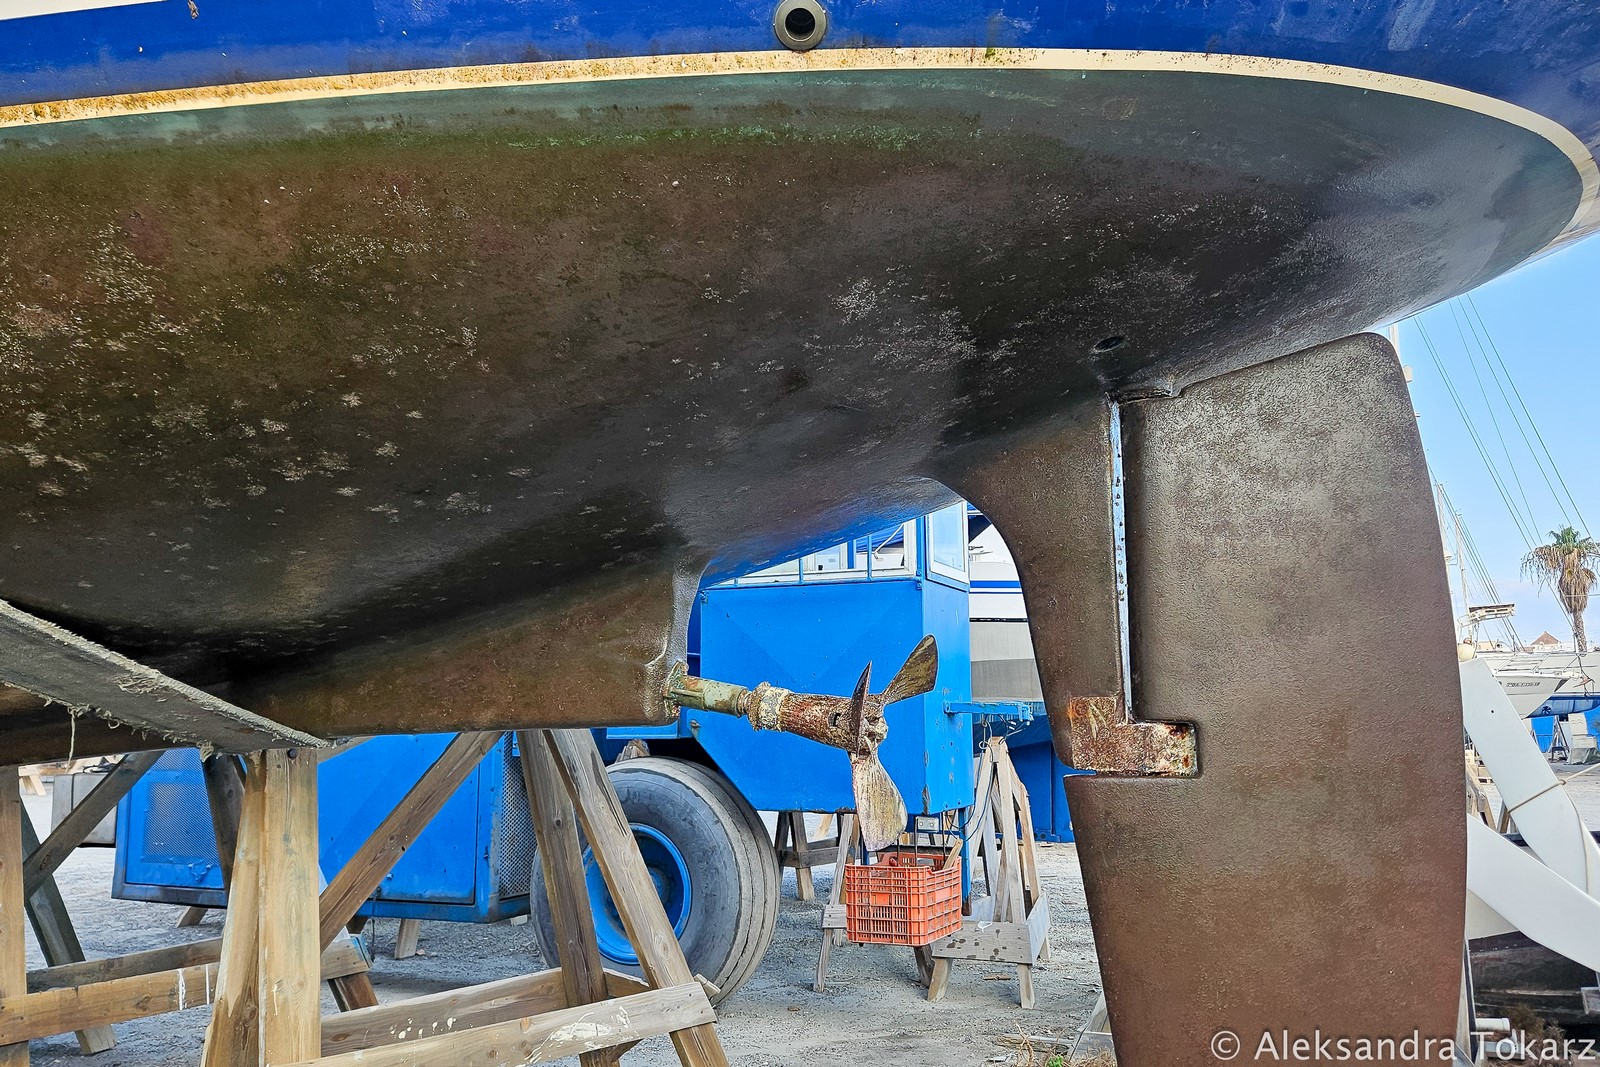
Now, let’s dive into our one-year review of Coppercoat. Did it live up to expectations? Are we satisfied? And what does the hull look like after a season in the Mediterranean? With the boat hauled out for other maintenance work, we were able to closely inspect the condition of our copper-coated hull.
Monitoring Coppercoat Throughout the Season
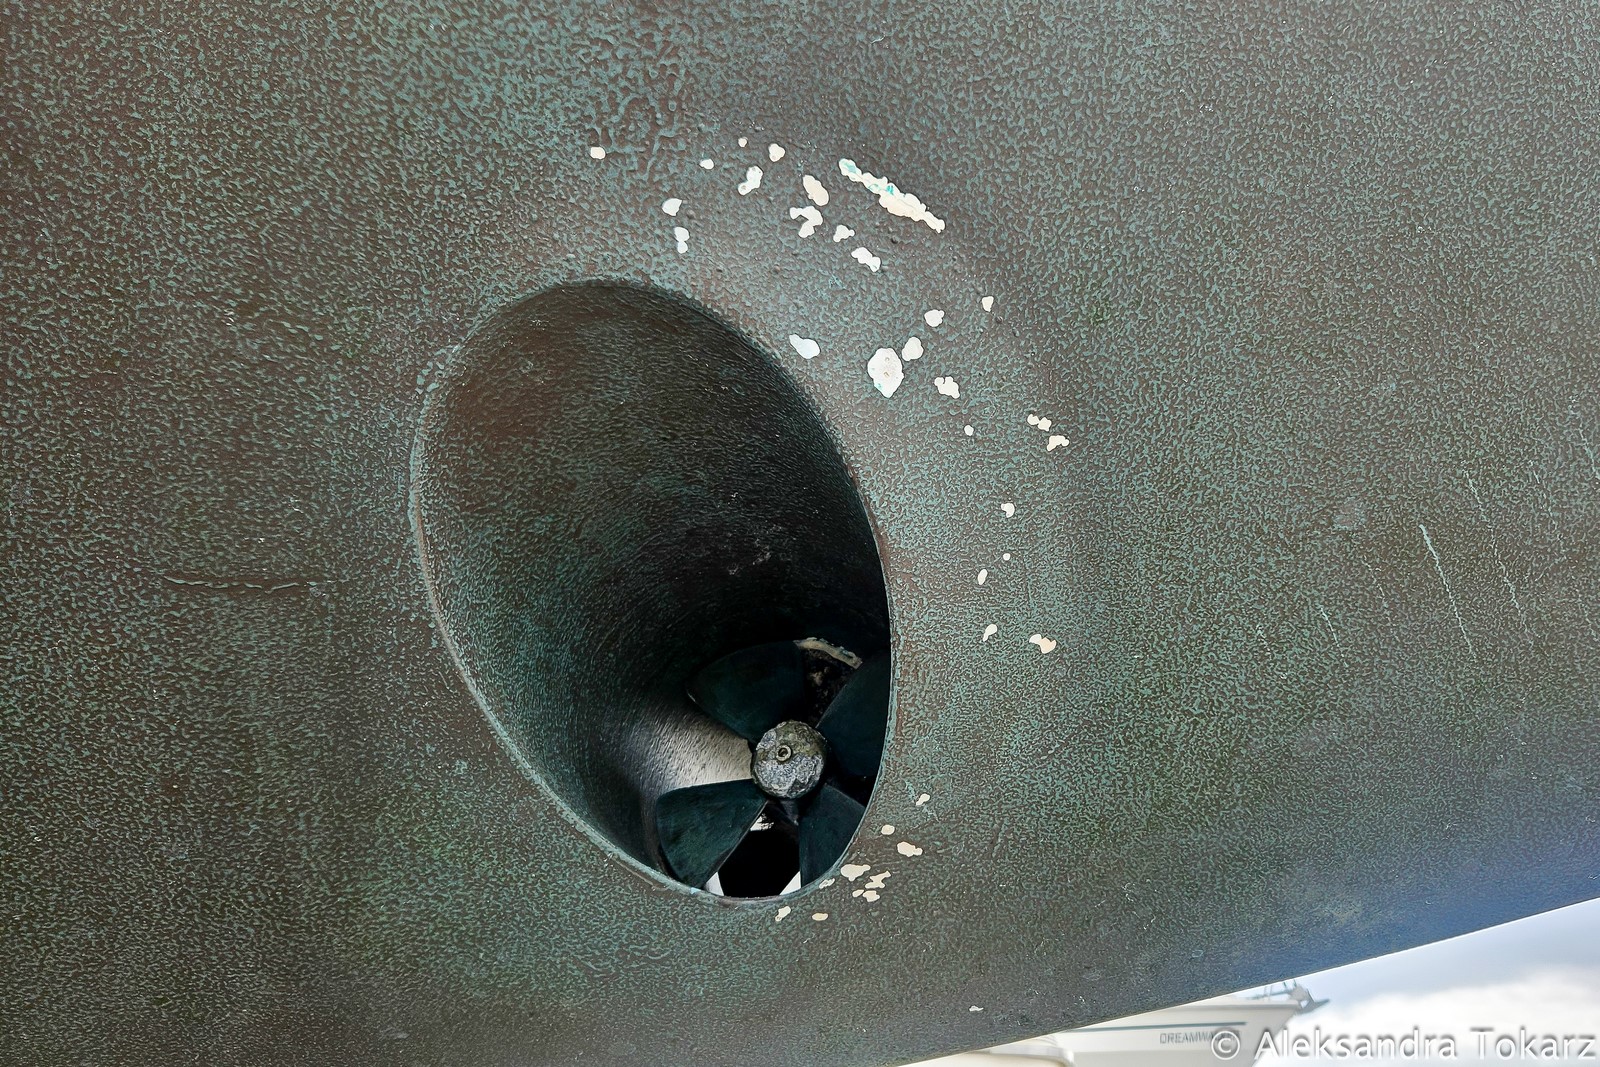
During the sailing season, we kept a close eye on the Coppercoat’s performance underwater. We were pleased to see very little fouling—just a thin layer of soft growth that was easy to clean with a brush. In contrast, untreated parts of the boat, like the propeller and some steering components, had a noticeable build-up. By mid-season, we gave the hull a light underwater cleaning, and the Coppercoat was in excellent condition, performing exactly as we had hoped.
One area of concern was the appearance of small (less than 1 cm) bubbles around the bow thruster. These bubbles would burst under pressure and revealed issues that we’ll discuss further below.
Observations After Haul-Out
When we hauled the boat out in December, we were pleasantly surprised by the Coppercoat’s condition. After five months without cleaning, the hull had minimal fouling. Small amount of soft algae could be wiped off by hand. We only have found one small barnacle on the entire hull.
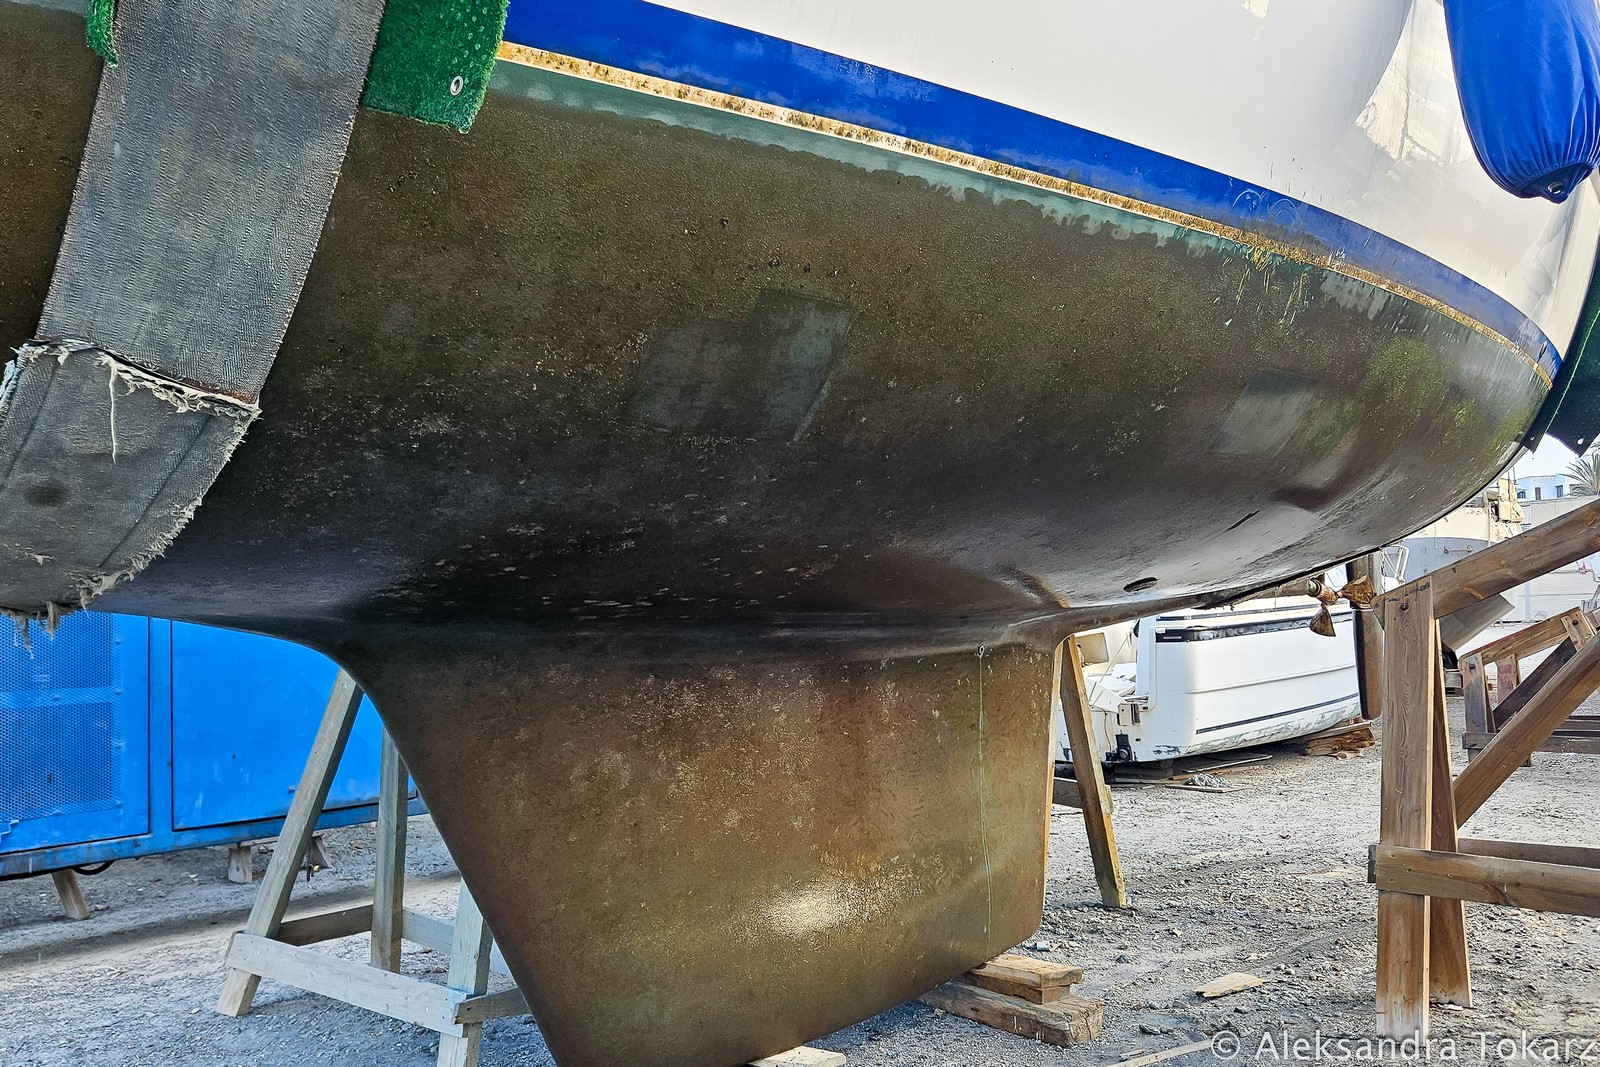


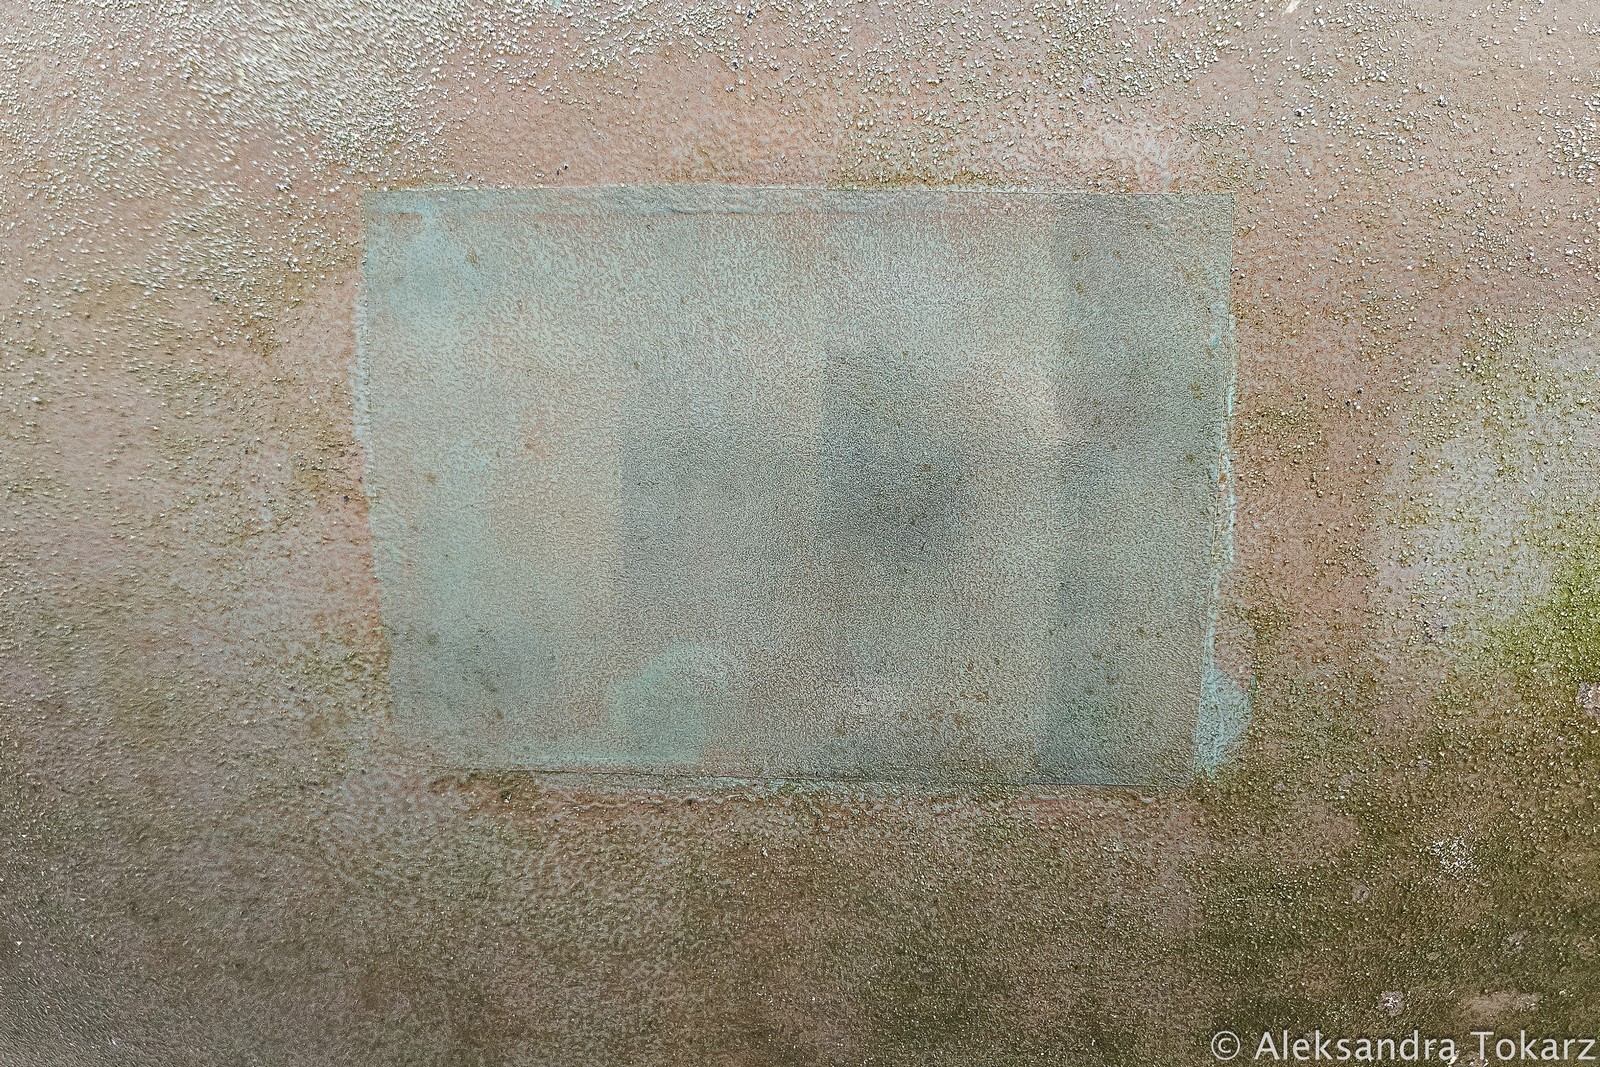
A pressure wash revealed a nearly perfect Coppercoat surface.

How Preparation Affects Results
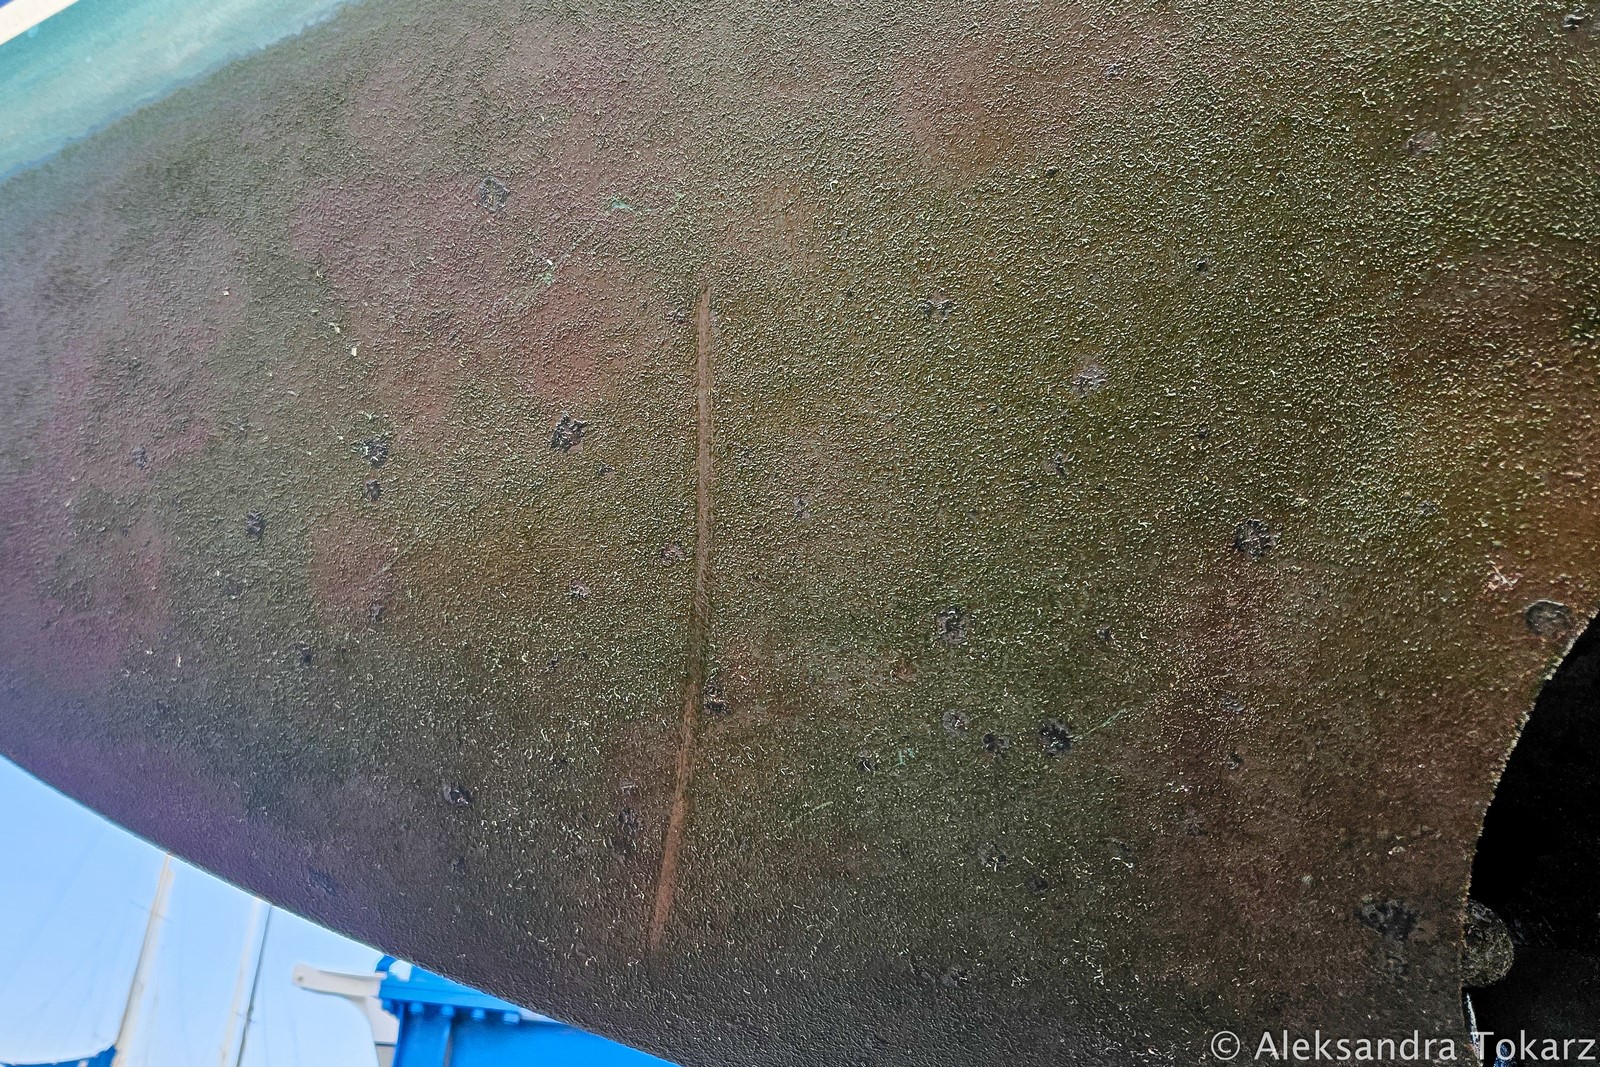
We also noticed differences in fouling based on how the Coppercoat was sanded after the application. As explained in our Coppercoat application guide, the product must be “activated” before launching by lightly sanding the surface to expose the copper particles. This step is key to its antifouling properties.
The areas painted later (after the supports were moved) were sanded more aggressively. These spots performed even better than the rest of the hull—virtually no fouling at all. Since the level of sanding can be adjusted depending on the waters you sail in, we plan to sand the entire hull more thoroughly before heading to tropical regions.
Addressing the Bubble Issue
Despite the Coppercoat’s excellent overall performance, we did encounter a problem with small bubbles on the hull. These were confined to areas where a new primer base had been applied during minor laminate repairs, particularly near the bow thruster.
Identifying the Cause
The issue was traced back to the primer used under the Coppercoat. This solvent-based primer requires a drying time of at least one week (or longer) before applying Coppercoat to allow the solvents to fully evaporate. While we waited the recommended seven days, high humidity likely delayed the drying process. As a result, trapped solvent created bubbles in the Coppercoat after application.
While this issue affects only a small area, it highlights the importance of proper preparation and drying times.
How We Plan to Fix It
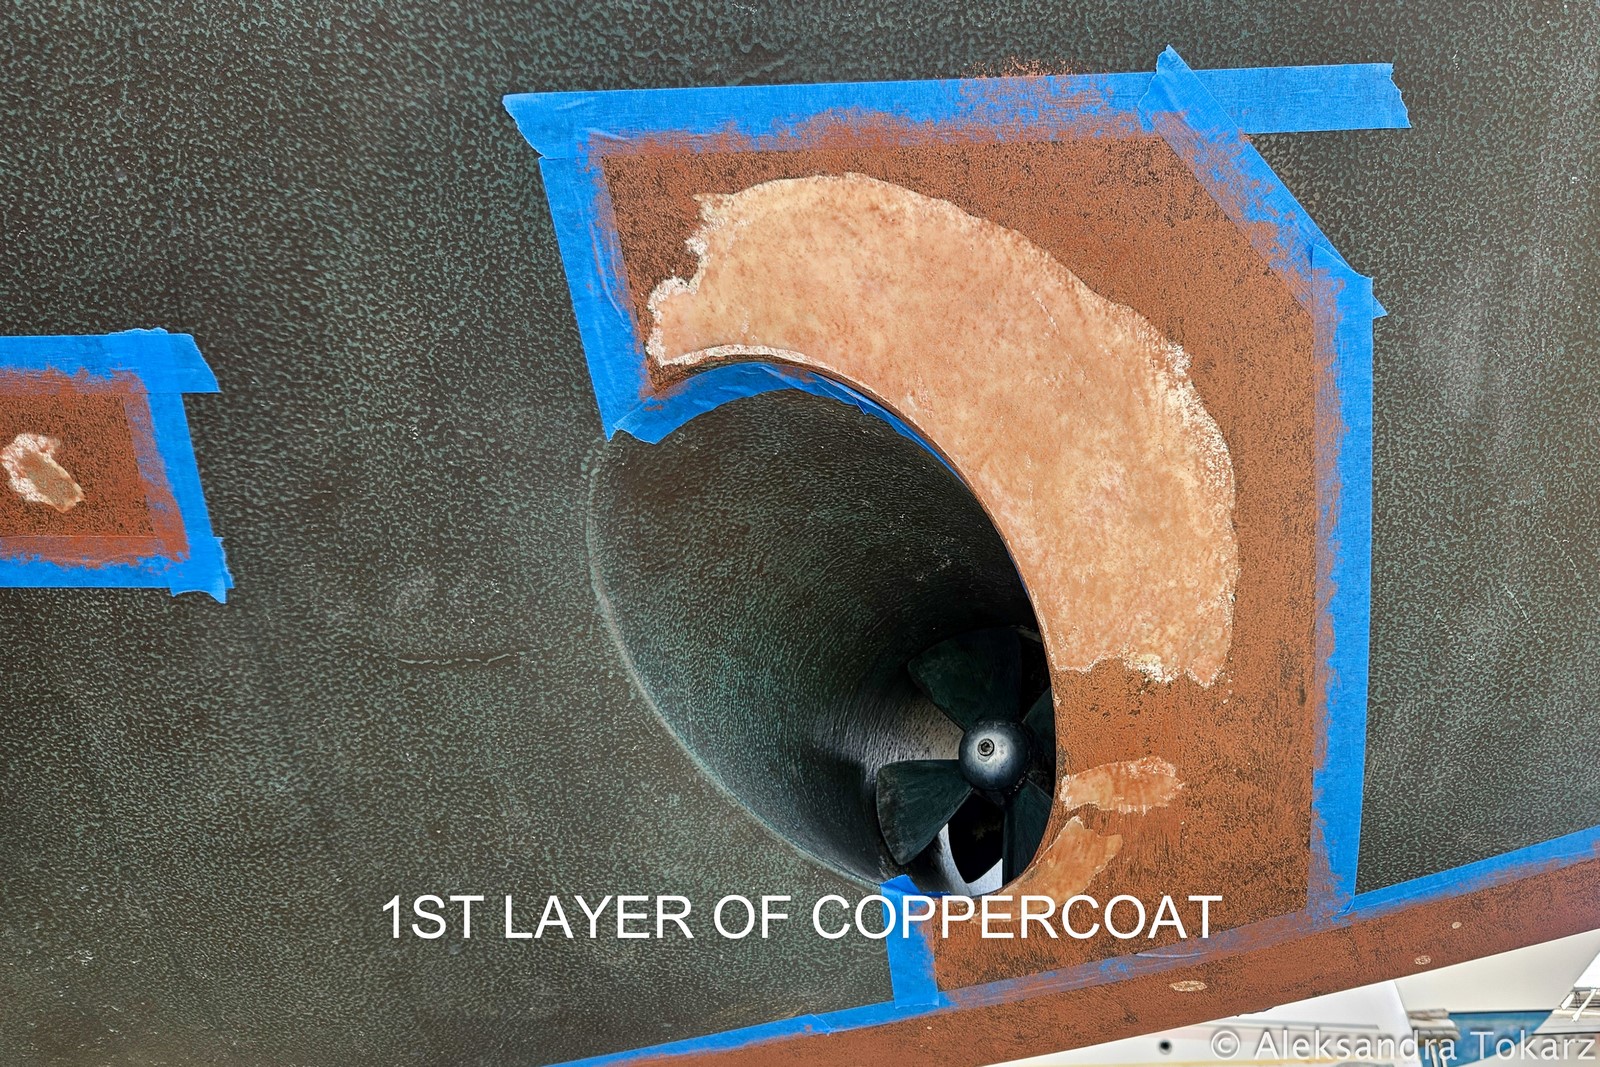
With the boat out of the water, we addressed the problem areas as follows:
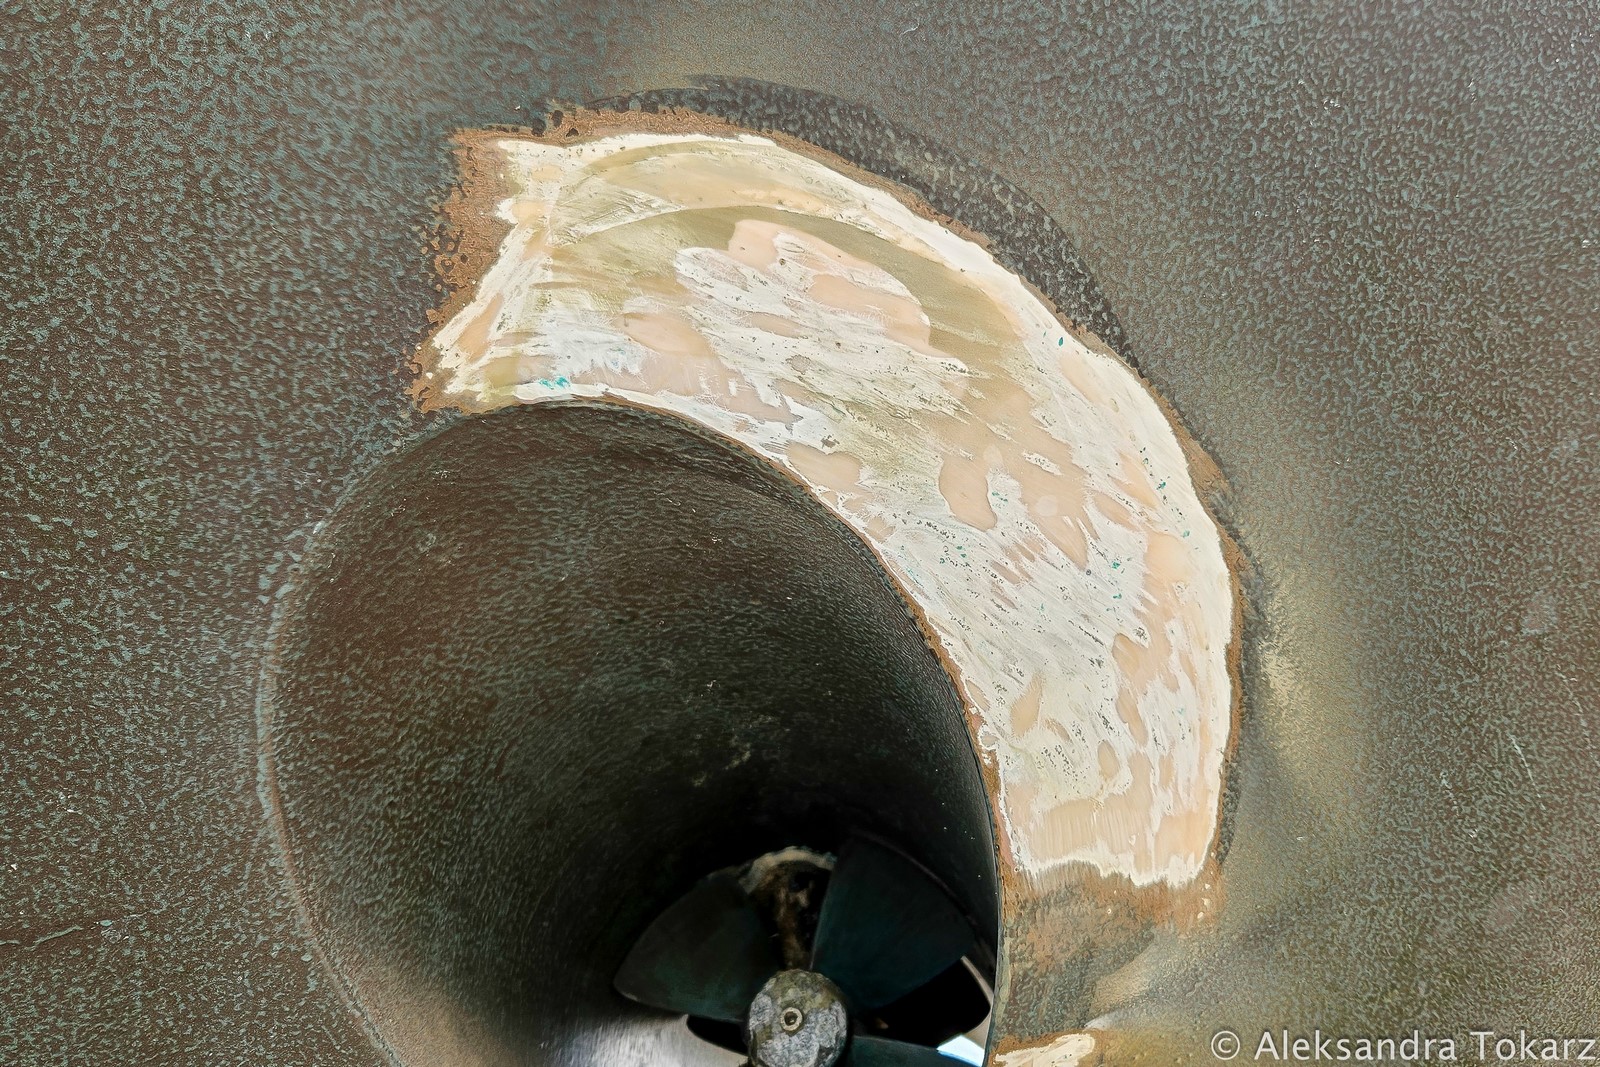
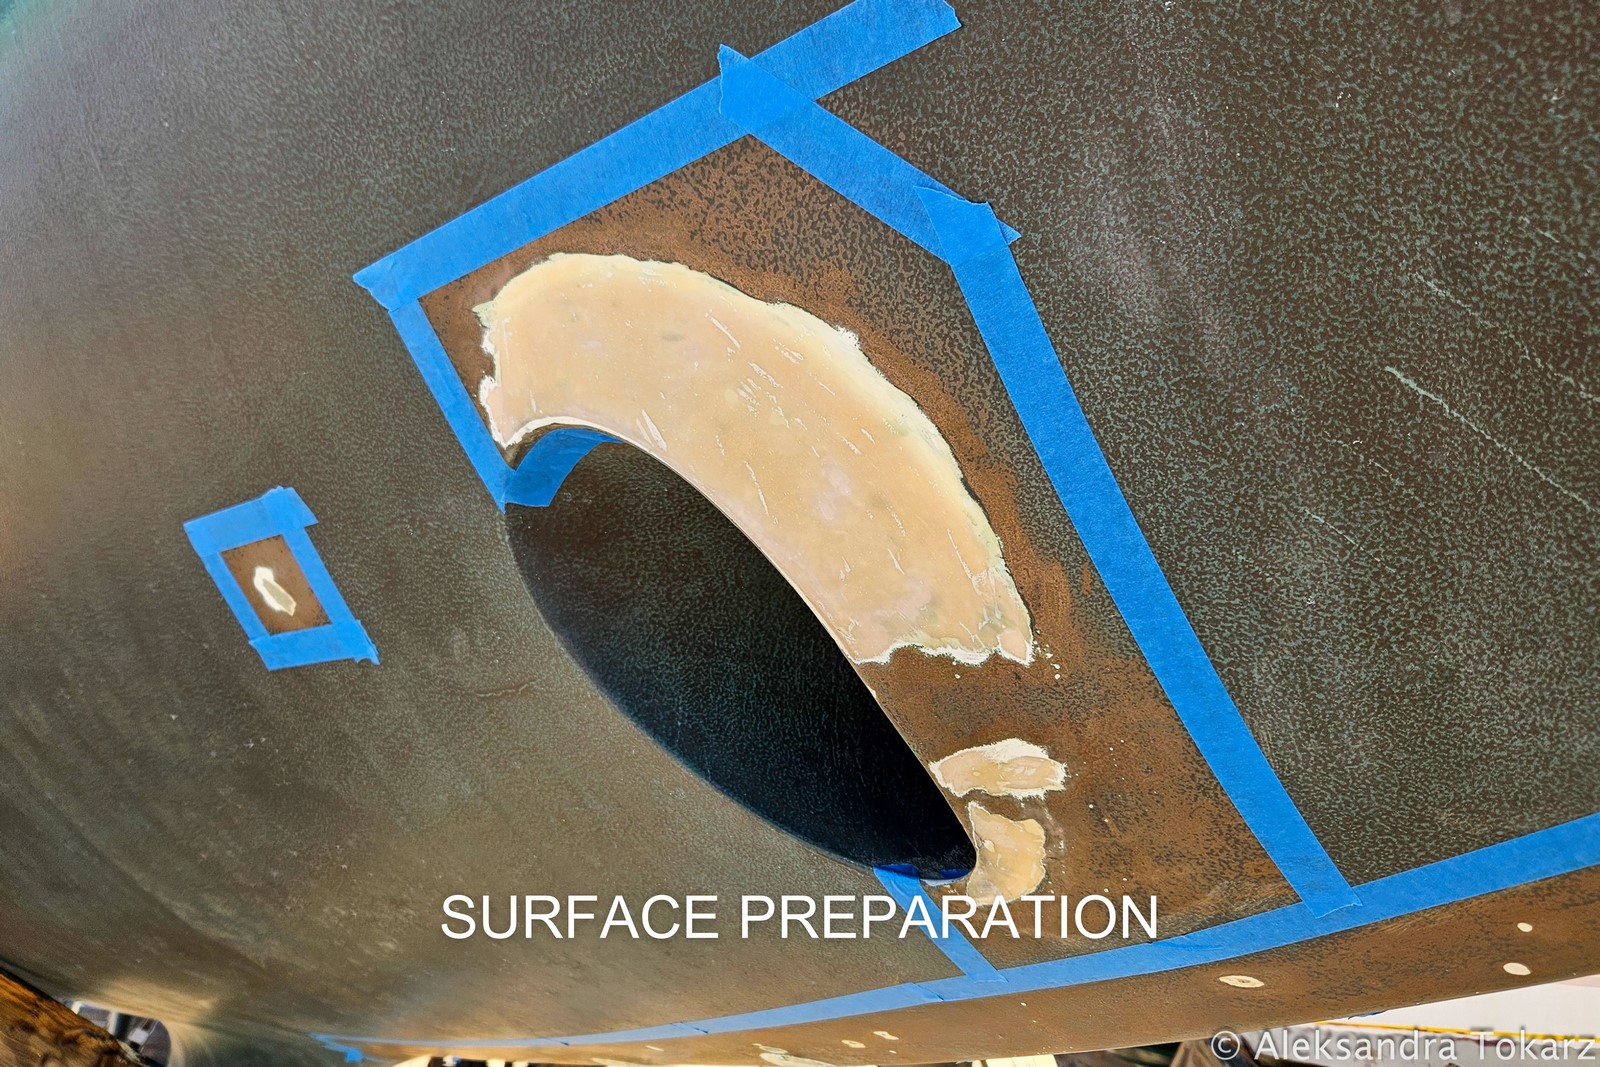
- Remove the Problem Spots: We sanded down all bubbles, even those that didn’t burst under pressure washing, to remove any delaminated Coppercoat.
- Fill Deep Areas: We filled any deep spots with thickened epoxy resin, while coating smaller areas with unthickened solvent-free epoxy.
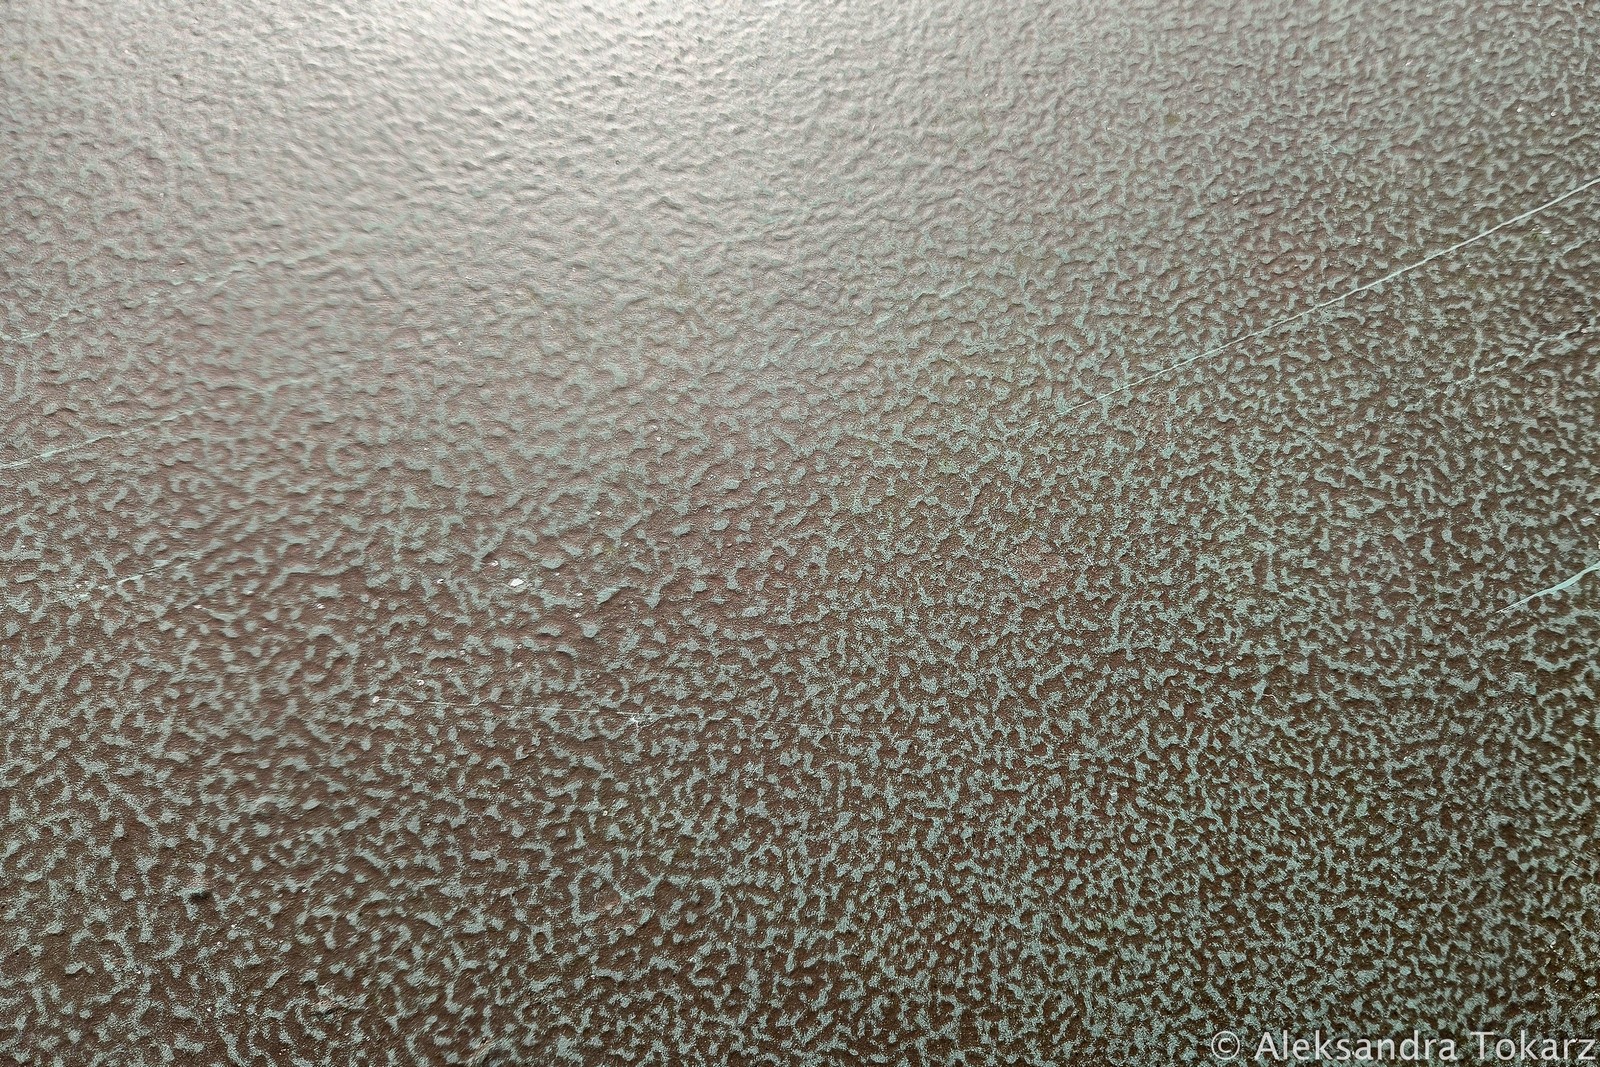
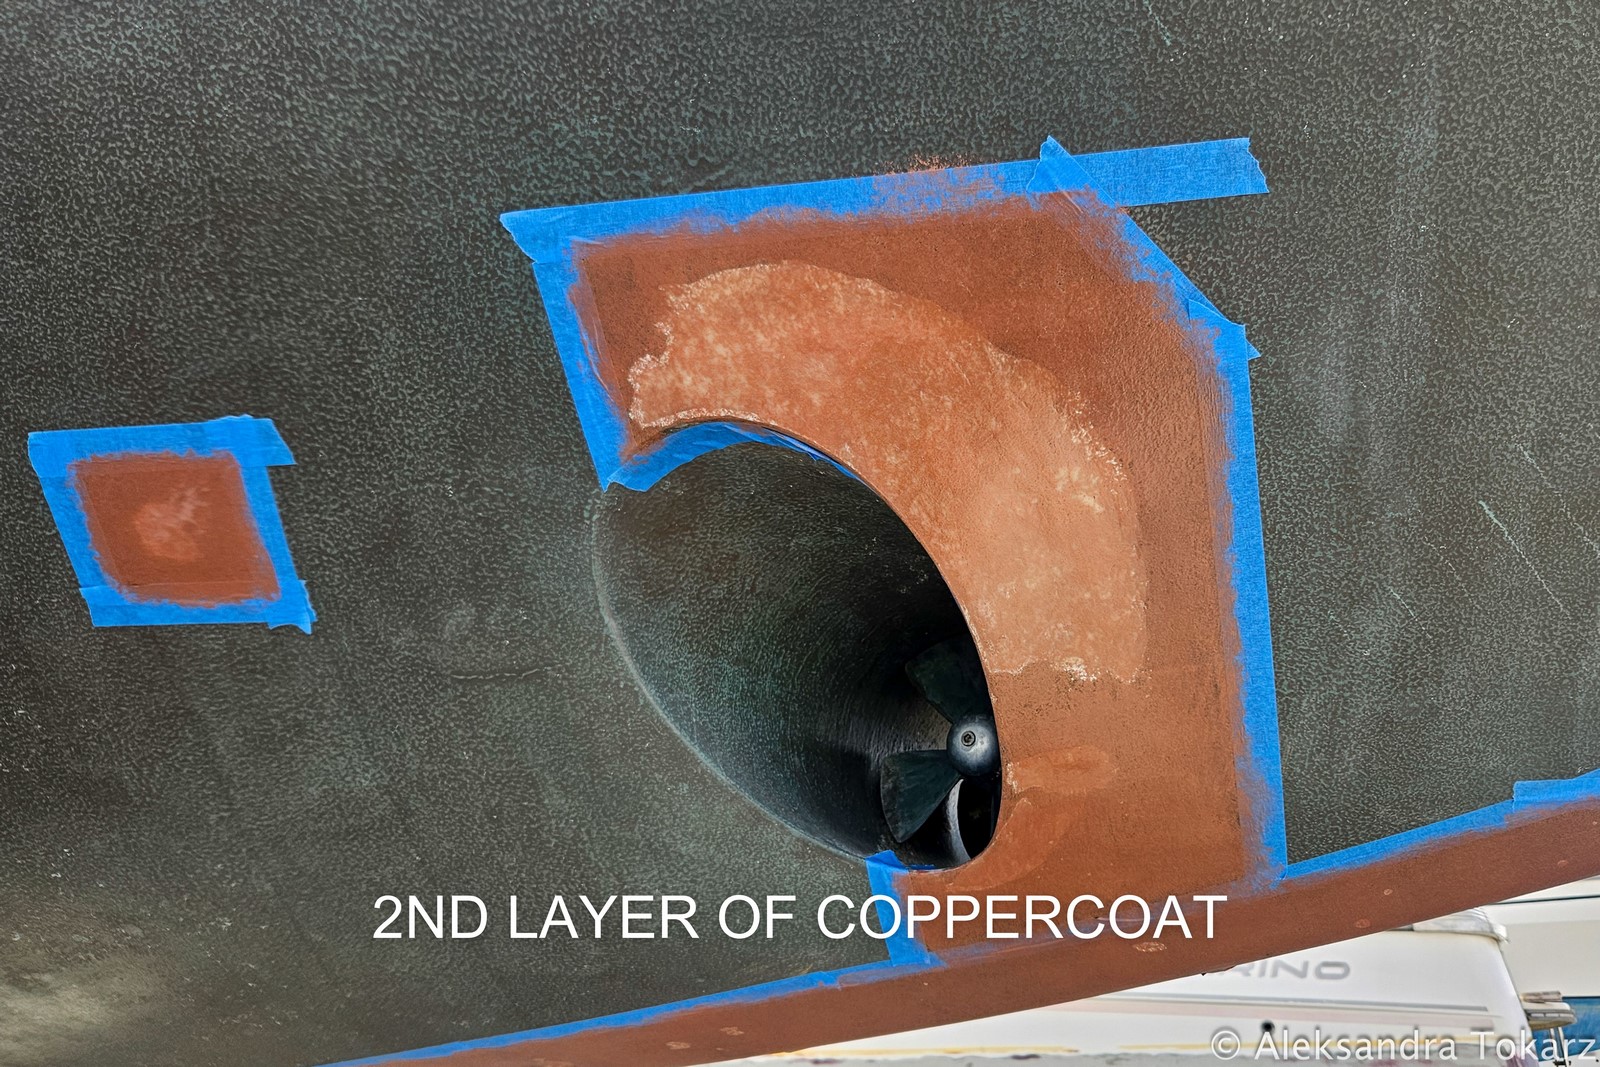
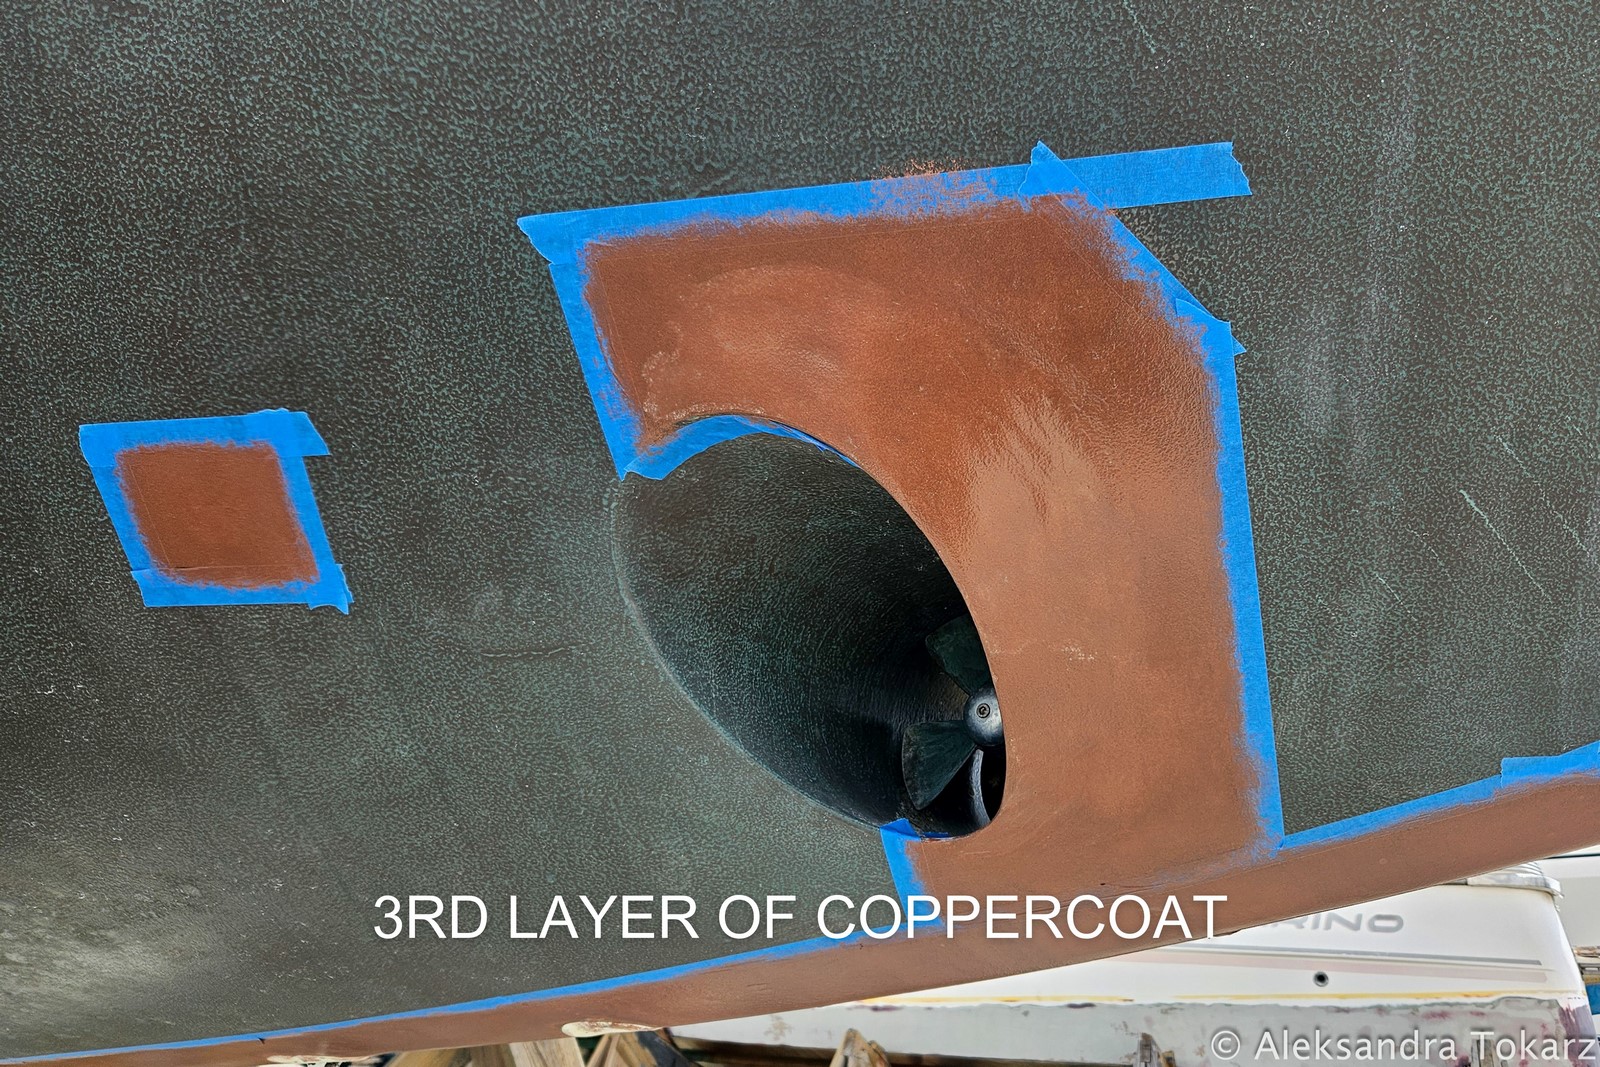
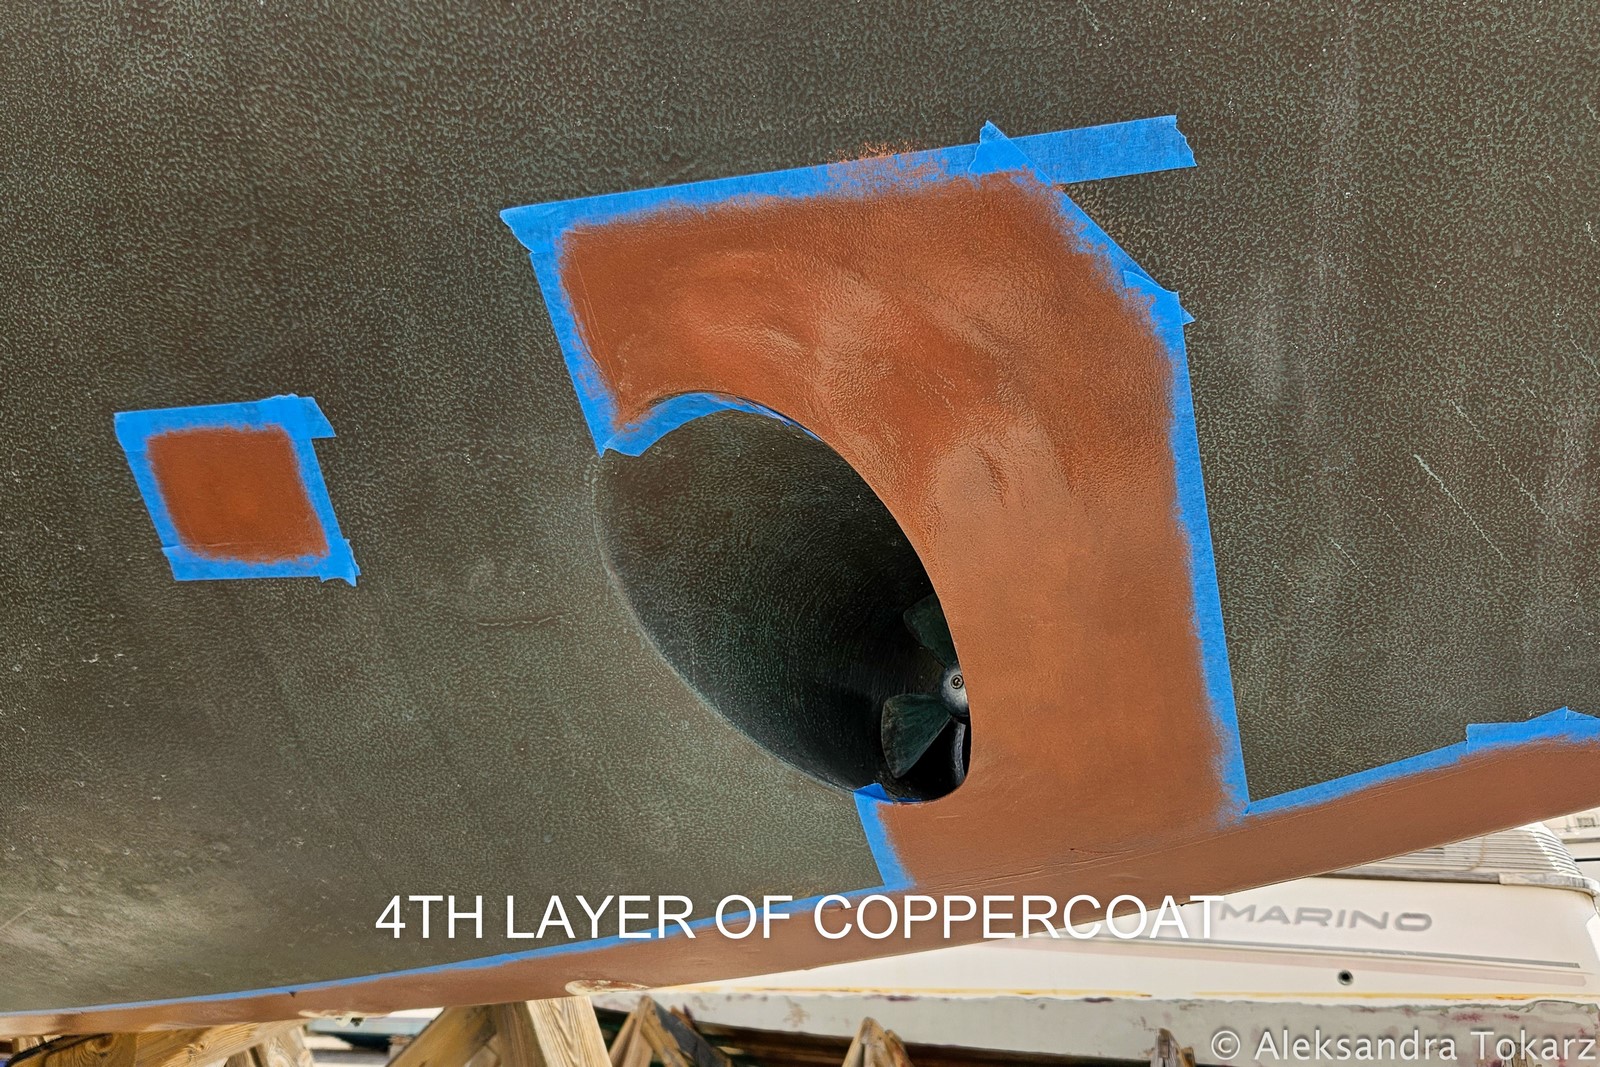
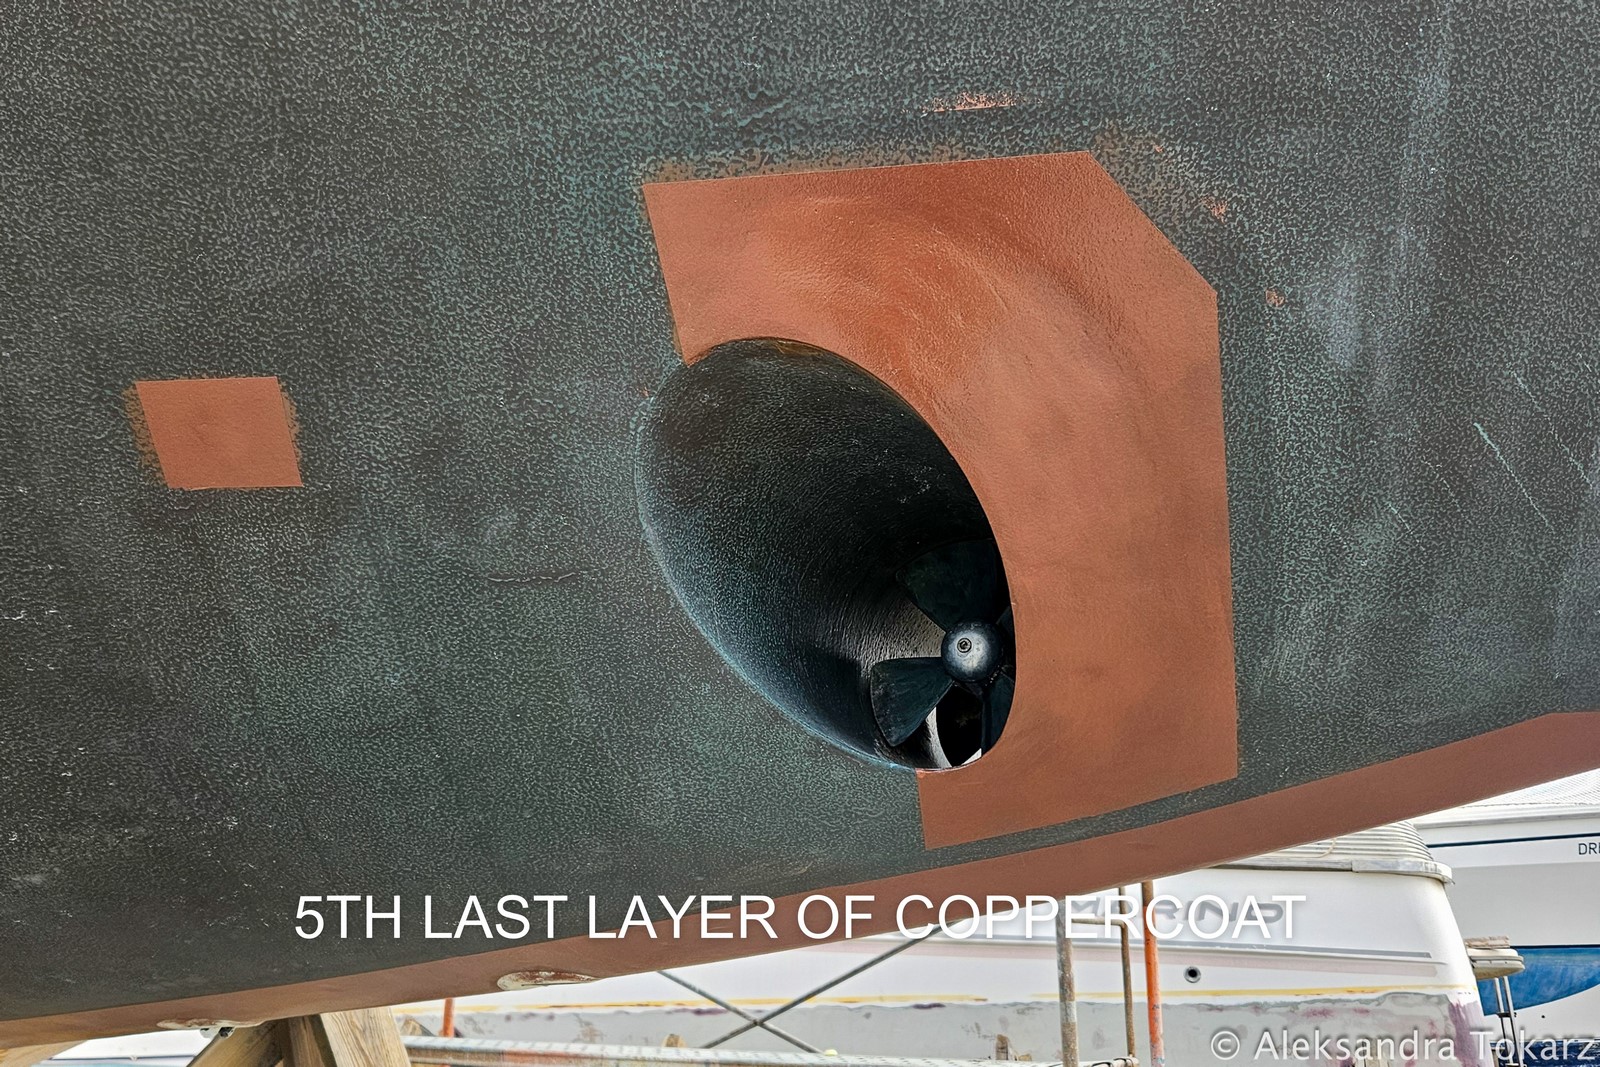
- Reapply Coppercoat: Once the repairs were cured, we sanded the surface and applied the new Coppercoat layers. Results in the pictures below.
We’ve consulted Coppercoat’s manufacturer, and this plan seems to be the best course of action.

Final Thoughts: Is Coppercoat Worth It?
After a full year of use in the Mediterranean, we’re extremely satisfied with Coppercoat. It has delivered excellent antifouling performance, requiring minimal cleaning and showing no significant barnacle growth—the most problematic type of fouling for a hull.
The minor bubbling issue we encountered was due to insufficient drying time for the primer, not the Coppercoat itself. This can easily be avoided in the future by using solvent-free products or allowing for a longer drying period.
It’s worth noting that the Mediterranean is not one of the most fouling-prone regions. As we sail into other areas, including tropical waters, we’ll continue to monitor Coppercoat’s performance and share our findings.
Questions About Coppercoat?
If you have any questions about Coppercoat, the application process, or other details we didn’t cover here, feel free to reach out. We’re happy to share our experience and help you decide if Coppercoat is the right solution for your boat.
Edit: Below this post, we’ve got very interesting question from our reader about Coppercoat application. He was wondering if it is possible to obtain product like Coppercoat ingredients separately and make it a full DIY. Coppercoat manufacturer was kind enough to explain why producing Coppercoat as a DIY is not the best idea:
Coppercoat was launched onto the market in the 1990’s and several companies tried to copy the idea. They all used epoxies that were inappropriate, and all failed. The difficult part is blending an epoxy that breaks down at the same rate that copper oxidises in sea water. If the epoxy is too impermeable, the copper is not released and it will not work as an anti-foul. And if the epoxy breaks down too quickly, too much of the copper is released and the lifespan in shortened. And of course, the copper powder itself has to be of the appropriate quality/purity, size and morphology. So overall it is not quite as simple as some people might think!
But more importantly, the industry of anti-fouling is highly regulated. It is illegal to make and use your own pesticide. An anti-foul has to be very carefully manufactured, in strict accordance with all current always (which vary from country to country). It would a crazy situation if everyone could just paint their boats with whatever poison they liked – the environmental damage would be enormous, let along the potential dangers to the person applying it.


5 Responses
thank you for sharing your experiences
if Cooper coat is pure epoxy and 99% copper ,why can can you buy this 2 components separately and make your own ,reducing cost greatly ?
Hi Diego!
Good point, maybe you could do that as a DIY project if you are able to obtain very fine copper powder.
However, I think that these components would be quite expensive separately as well, so I think it’s not worth risking.
Let us know if you decide to check it out.
Hi Diego!
Following up your question regarding DIY production of Coppercoat, I edited the post with some interesting information from Coppercoat itself! Hope it will clarify a lot, we also didn’t know that it’s not that easy as it looks like. Regards!
hi
Hi Tommy, how can we help?