
Why have we decided on Coppercoat?
We’ve been thinking about applying coppercoat antifoul since we owned “Tranquility”. She required removing many consecutive layers of paint which were accumulated over the years and were peeling off from our haul.
As sanding to a barrier coat was necessary anyway, we decided it’s a good opportunity to prepare the hull for coppercoat application. Research, reviews and experiences of fellow cruisers looked very promising in terms of efficiency and lifespan of this kind of antifouling.
Although coppercoat itself seems to be a more expensive option and it requires more planning and preparation, we strongly believe that it will pay off with long lasting protection, avoiding haul outs every year and workload associated with it. Also, the total cost of multiple antifoul applications added up throughout the years would exceed one copper coat application, making it an overall cheaper solution.
What Coppercoat is?
For those of you who are not familiar with coppercoat antifoul, we will briefly explain what it is. Coppercoat is the combination of a specially developed solvent-free water based epoxy resin and high purity (99%) copper. In simple words, it’s a pure copper powder suspended in epoxy resin. When we talk about coppercoat, it’s not only a technology, but also a brand. There is one manufacturer with the corresponding name – Coppercoat, with dealers all around the world.
According to the manufacturer, correctly applied treatment resists weed and barnacle growth for a decade or more. Personally, we know sailors having coppercoat for 12 years and counting, we’ve also seen a boat with a 16 years old coppercoat.
How does Coppercoat work?
Exposed pure copper is attacked by sea water, resulting in formation of the cuprous oxide. It deters growth until the surface degrades to become cupric hydrochloride. When cupric hydrochloride is formed (it is the final, highly unstable, copper form), it is washed away with a boat’s movement, fresh copper is revealed and the process starts all over again.
Moreover, waterproof qualities of this type of antifoul help prevent osmosis in GRP hulls.
Preparation for coppercoat application
We will guide you step by step how to apply coppercoat as a DIY project. When it comes to coppercoat, preparation is the key and it includes surface preparation as well as good weather planning. Despite this, we are sure that coppercoat application can be done as a DIY project and you don’t have to hire specialists.
Where to buy Coppercoat?
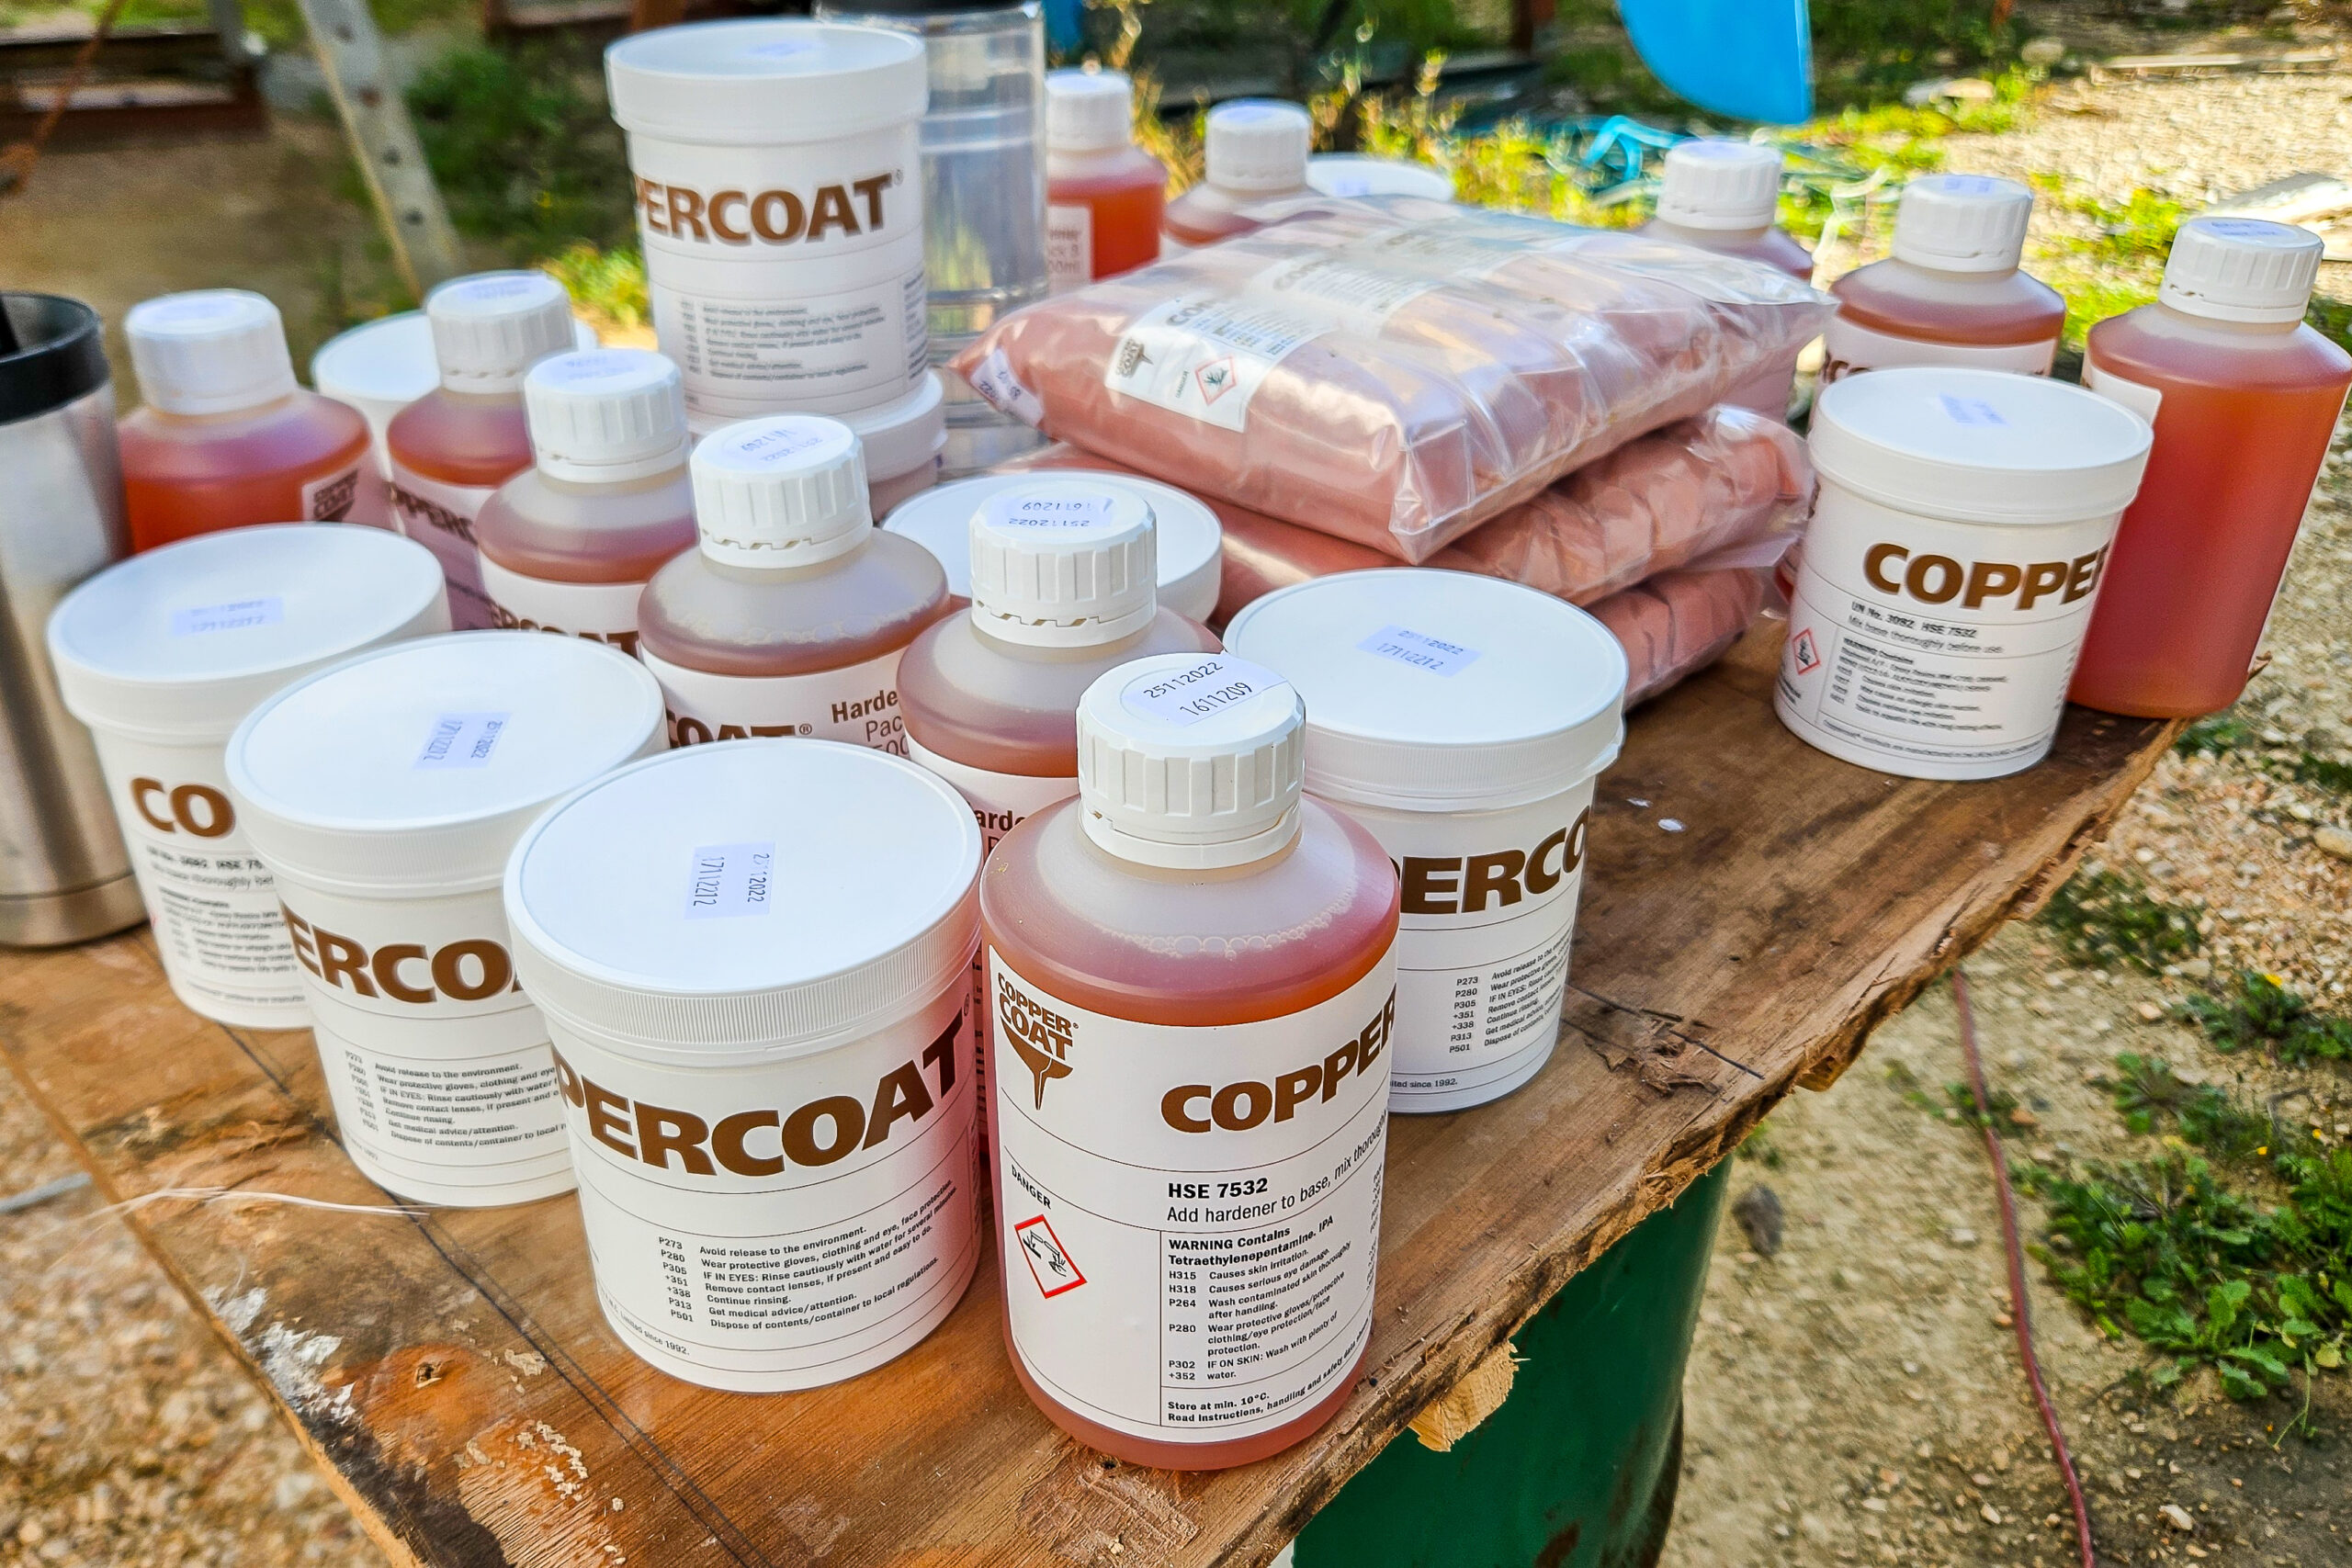
You can order coppercoat from Coppercoat distributors in your country. You can check the list of local distributors here. Based on the size of your boat, you’ll get enough product to apply a minimum 4 layers of antifoul.
In our case 14 liters calculated for a 39-foot sailboat was too much and around 1 liter of product was wasted. We’ve seen coppercoat available in boatyard chandleries in small quantities so you can always buy 1 or 2 liters more if you run out of product.
Always check the package if everything is in there. Ask your supplier for an expiration date, if you order a product in advance and plan the application later. Shelf life of a coppercoat is 12 months according to the instructions. But this is very safe, and the true shelf-life is typically 18 months.
Surface preparation
Before applying Coppercoat, surface preparation is essential. Whether your hull is made of GRP, iron, steel, aluminum or wood, proper cleaning is crucial. Remove all contaminants, including dirt, grease, and old paint, ensuring a clean and sound substrate for optimal adhesion.
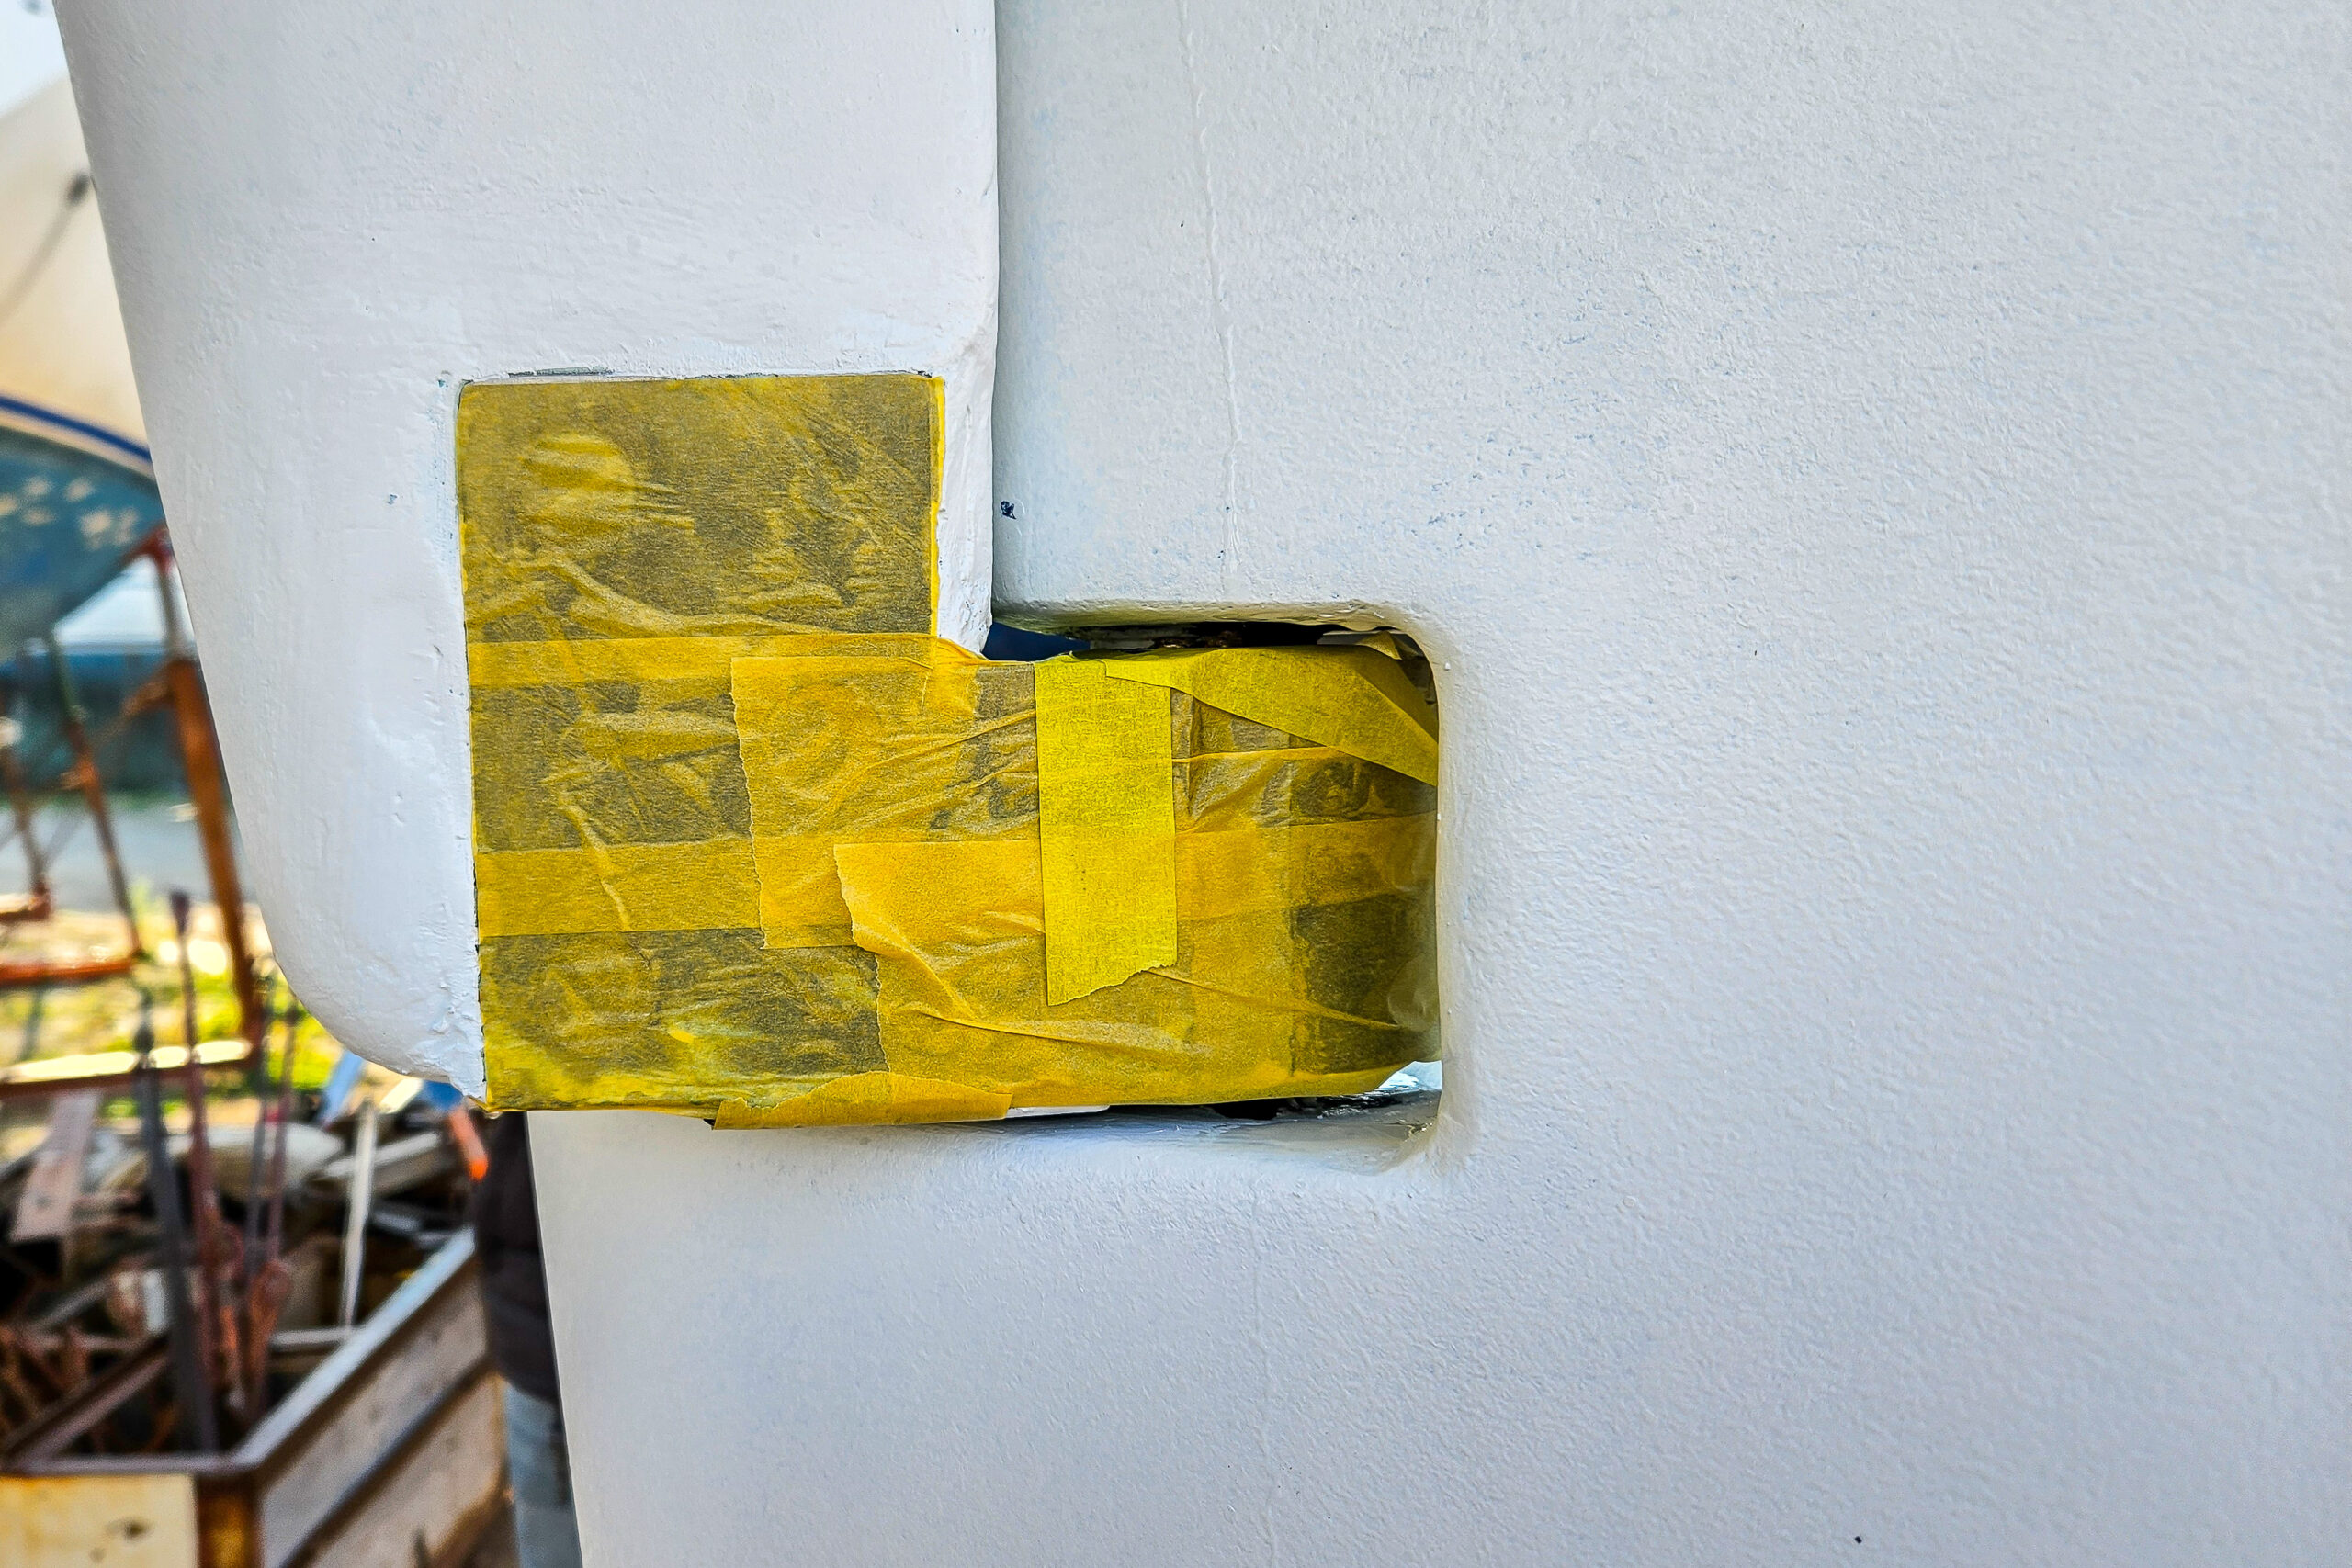
We carefully removed all layers of old antifoul with an orbital sander, down to a gelcoat layer. According to the manufacturer’s instructions, you should use 60-120 grade sandpaper. We used 80. If the gelcoat is in a good condition, it is not necessary to apply a barrier coat or primer. Remember to check the gelcoat surface thoroughly, fix osmosis spots if they are present and re-apply the barrier coat where fiberglass is exposed. Let everything dry. If the time between sanding and application exceeds 2 weeks, it is advisable to re-sand the surface with fine sandpaper.

Just before application, remove all the dust from the hull and wash it with fresh water. Under no circumstances wash the hull with any solvents or oil-based products, such as acetone.
Applying coppercoat on steel or aluminum hulls requires using a different process to avoid electrolytic corrosion between two different metals. Remember – copper is a metal too and will corrode with steel or aluminum. Manufacturer requires using a primer. Although some people have concerns regarding this issue, our friend successfully applied coppercoat on aluminum hull more than 12 years ago and he is still happy with the results.
Coppercoat can also be applied on wooden hulls using a primer first, but we will not cover that process here.
Coppercoat application – weather planning
Weather conditions heavily affect correct application of coppercoat, as it is an epoxy resin based product. Temperature, humidity and air-flow should be closely monitored. You need to choose the time of the year in your location, when weather conditions are within the margins stated by the manufacturer. Temperature should be above 8 deg C, preferably around 20 deg C. Low humidity and adequate ventilation is also a must, as well as an absence of rain for 48 hours after the application.
In our case, applying coppercoat in Greece in February was challenging when it comes to the weather. We closely monitored the conditions and were able to choose a weather window which was the best in that month, but definitely not ideal in general. If it’s possible try to choose the season with around 20C, low humidity and light breeze. And never apply coppercoat in conditions beyond manufacturers limits. Coppercoat can also be applied in a controlled environment (hangar, shed, tent), but ventilation has to be assured.
Coppercoat application – how many people are needed?
The amount of crew needed to apply coppercoat depends on the size of the boat. All 4-5 layers have to be applied in one day. Having a 39 foot boat, we hired two people to help us with the application, so we have 2 people painting, one person mixing products and another one doing all the rest. If you don’t have that many pairs of hands to work, it’s okay to finish 5 layers of coppercoat on one side of the hull in one day and do the second half the next day.

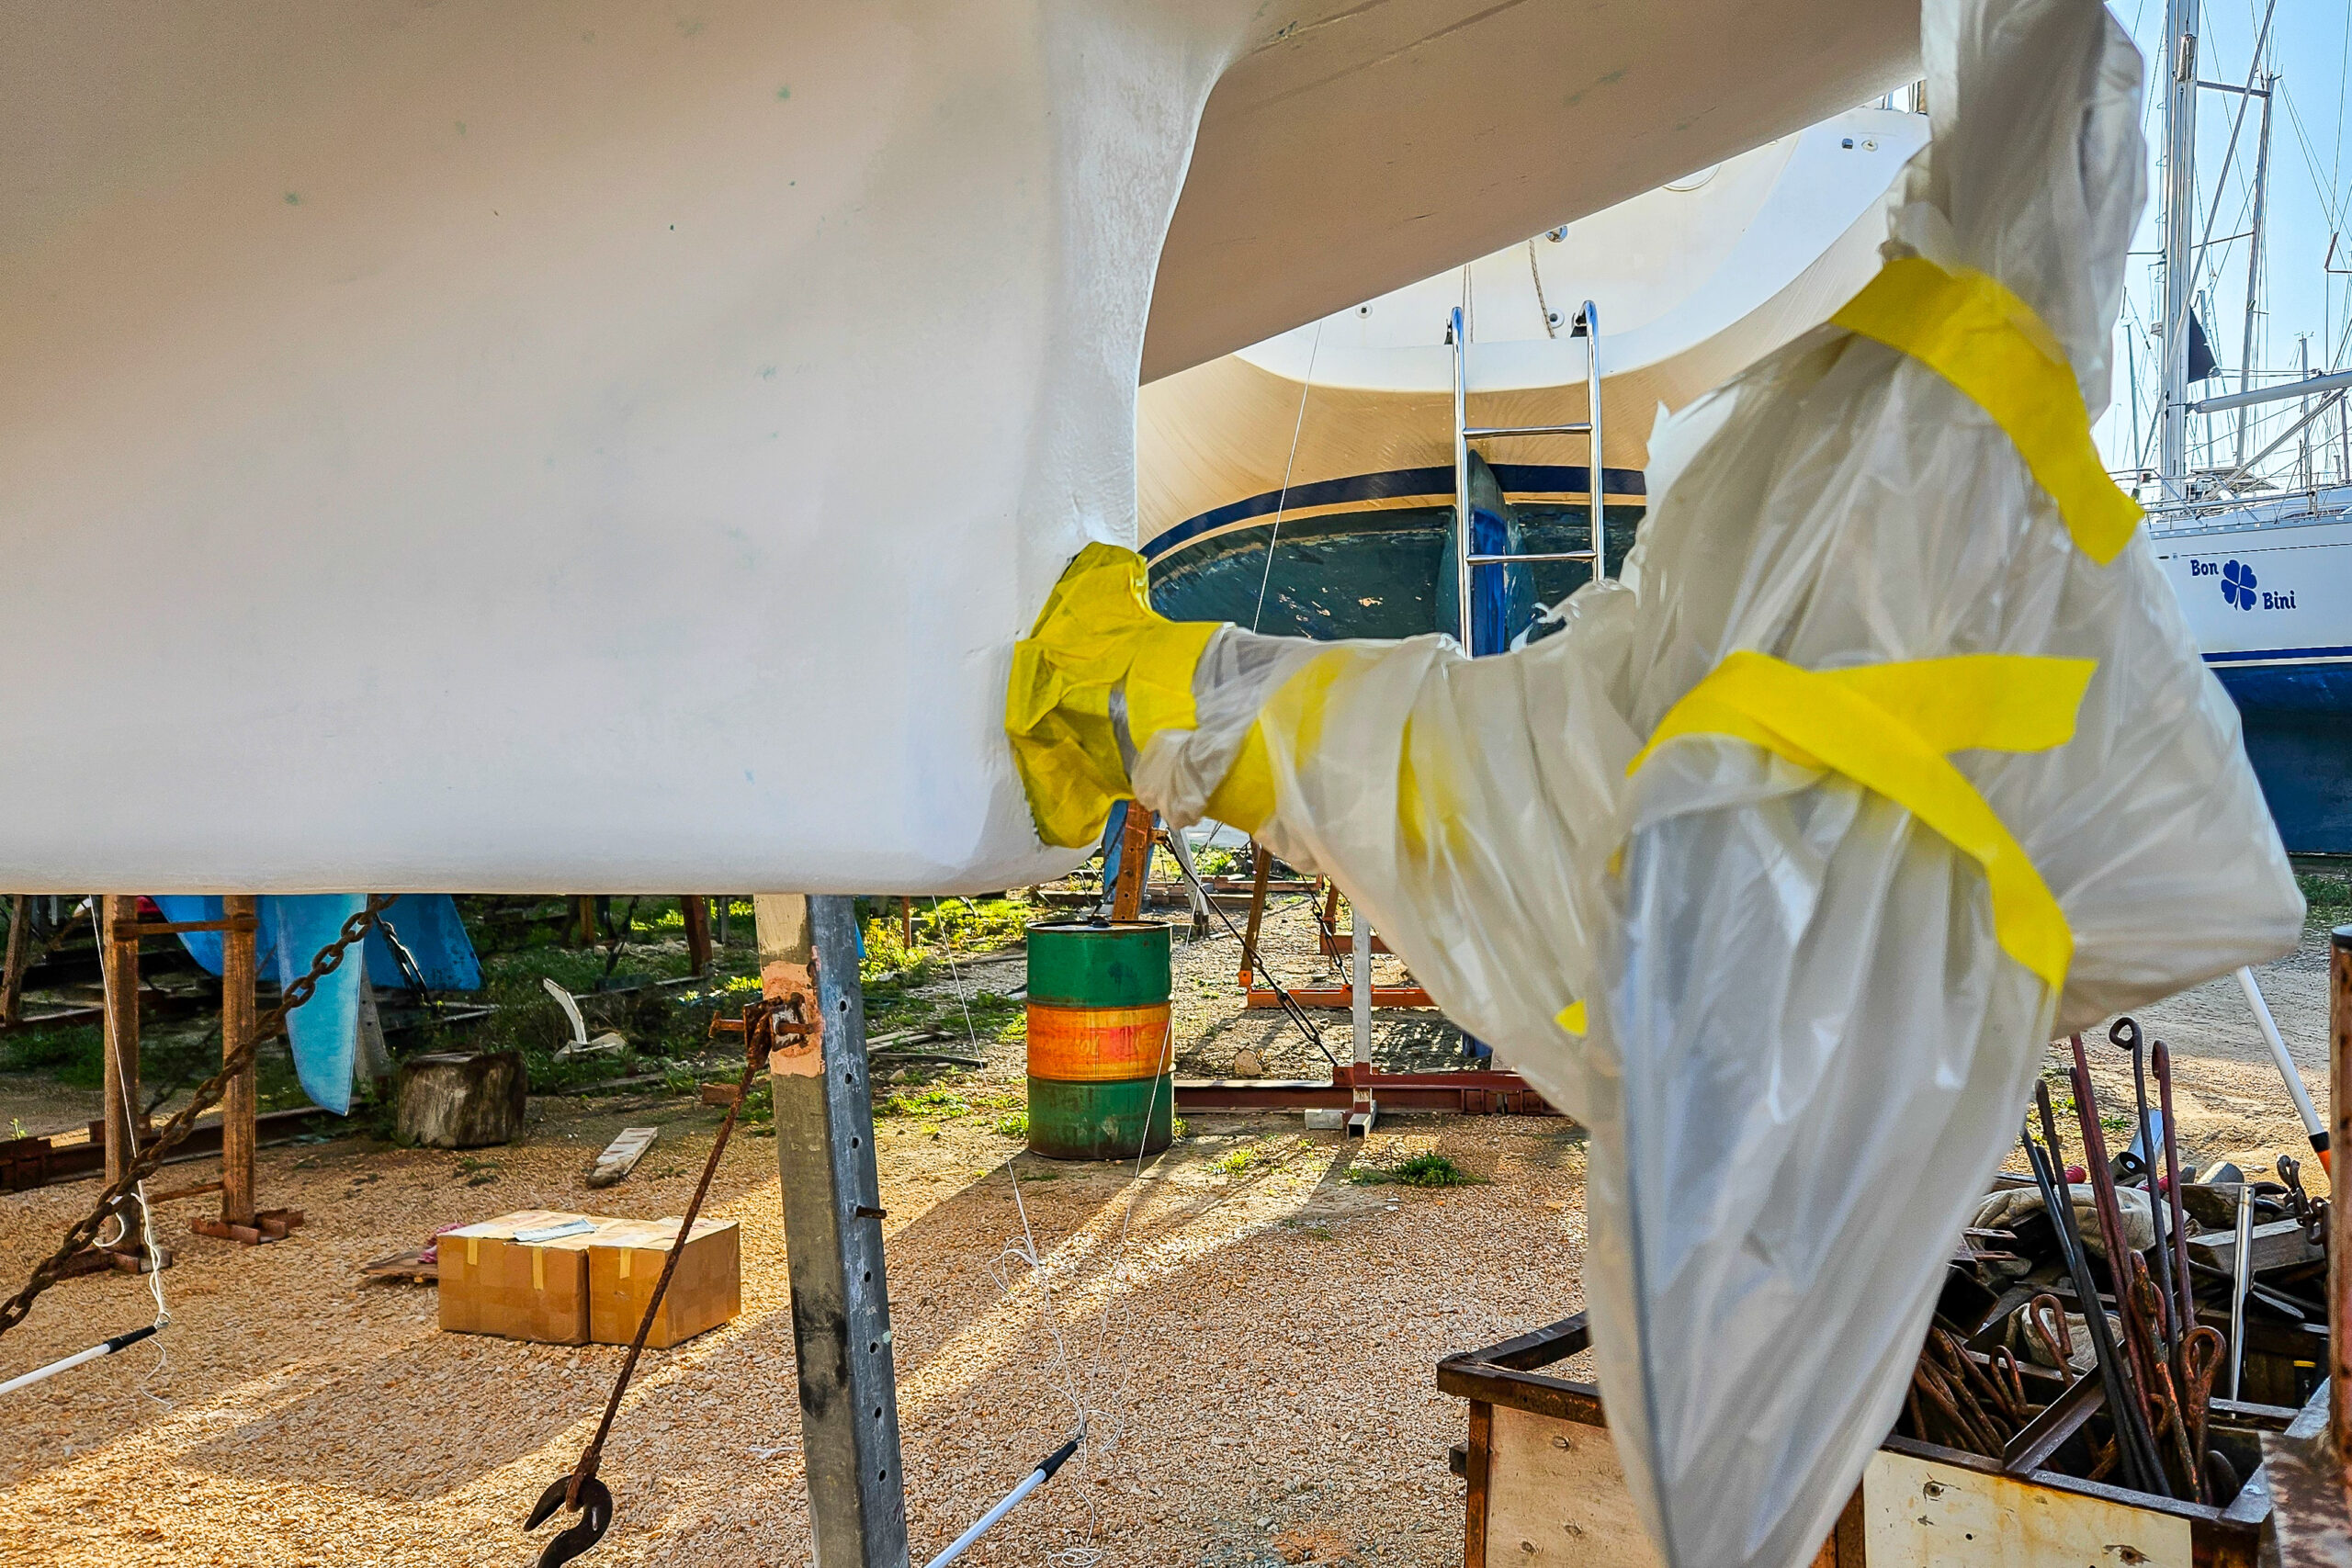
At this point we will remind you to use face shields/goggles/gloves and protective clothing, as you are working with highly irritating epoxy resin and pure copper.
Once you have a good weather window for coppercoat application, the surface is well prepared and crew ready, it’s time to start.
All steps of coppercoat application are equally important to correctly apply the product and enjoy a growth-free hull for many years. That’s why you need to strictly adhere to the manufacturer’s instructions.
Coppercoat application process
Step 1. Coppercoat application – mixing
Coppercoat consists of 3 parts – resin, hardener and copper powder. Prepare a plastic container and mix resin (pack A) with hardener (pack B). Then continue stirring while carefully adding the copper powder. When homogeneous mix is obtained add Iso-Propanol thinner, which should be supplied by the distributor. For roller applications, Coppercoat has to be thinned by up to 5%, for spray applications – 15-20%. You will achieve 5% when you add 3 caps of thinner (use caps of a hardener container).
When mixed, pot life of coppercoat is approximately 40 minutes in 10 deg C, 30 min in 20 deg C and 20 min in 30 deg C, so never mix more than you can apply during that period. Using the workforce mentioned above, on a 39 foot boat, we were mixing 1 liter at a time. Copper is held in suspension for some time, but remember to stir it again, when it settles before starting application.


Step 2. Application process
Coppercoat should be applied directly after mixing so avoid mixing too much in advance. Use high quality mohair rollers and never apply coppercoat with a brush. Check with your supplier if rollers are provided with the product. You can use spray as well.
For the first time application, 4-5 layers are required. Consecutive layers have to be applied as soon as the previous is “wet on tacky” – basically when a plastic glove on your finger slightly sticks to the surface, but does not slide on it. According to the manufacturer’s instructions it’s around 1 hour at 20 deg C. You need to apply all layers in one day. At 20 deg C temperature by the time the coat has been completed, the start point is sufficiently cured to accept the next coat. This makes the coppercoat application process continuous. In lower temperatures, curing takes longer and it may be required to wait more between the layers.
Final cure rate will be fastest in warm, dry, breezy conditions and slowest in cool, damp, still conditions, but optimal waiting time for the epoxy to be fully cured is 5-7 days. You can easily assess it by poking it with your thumbnail. If you cannot mark it, then it’s fully cured and hard enough to withstand launching.
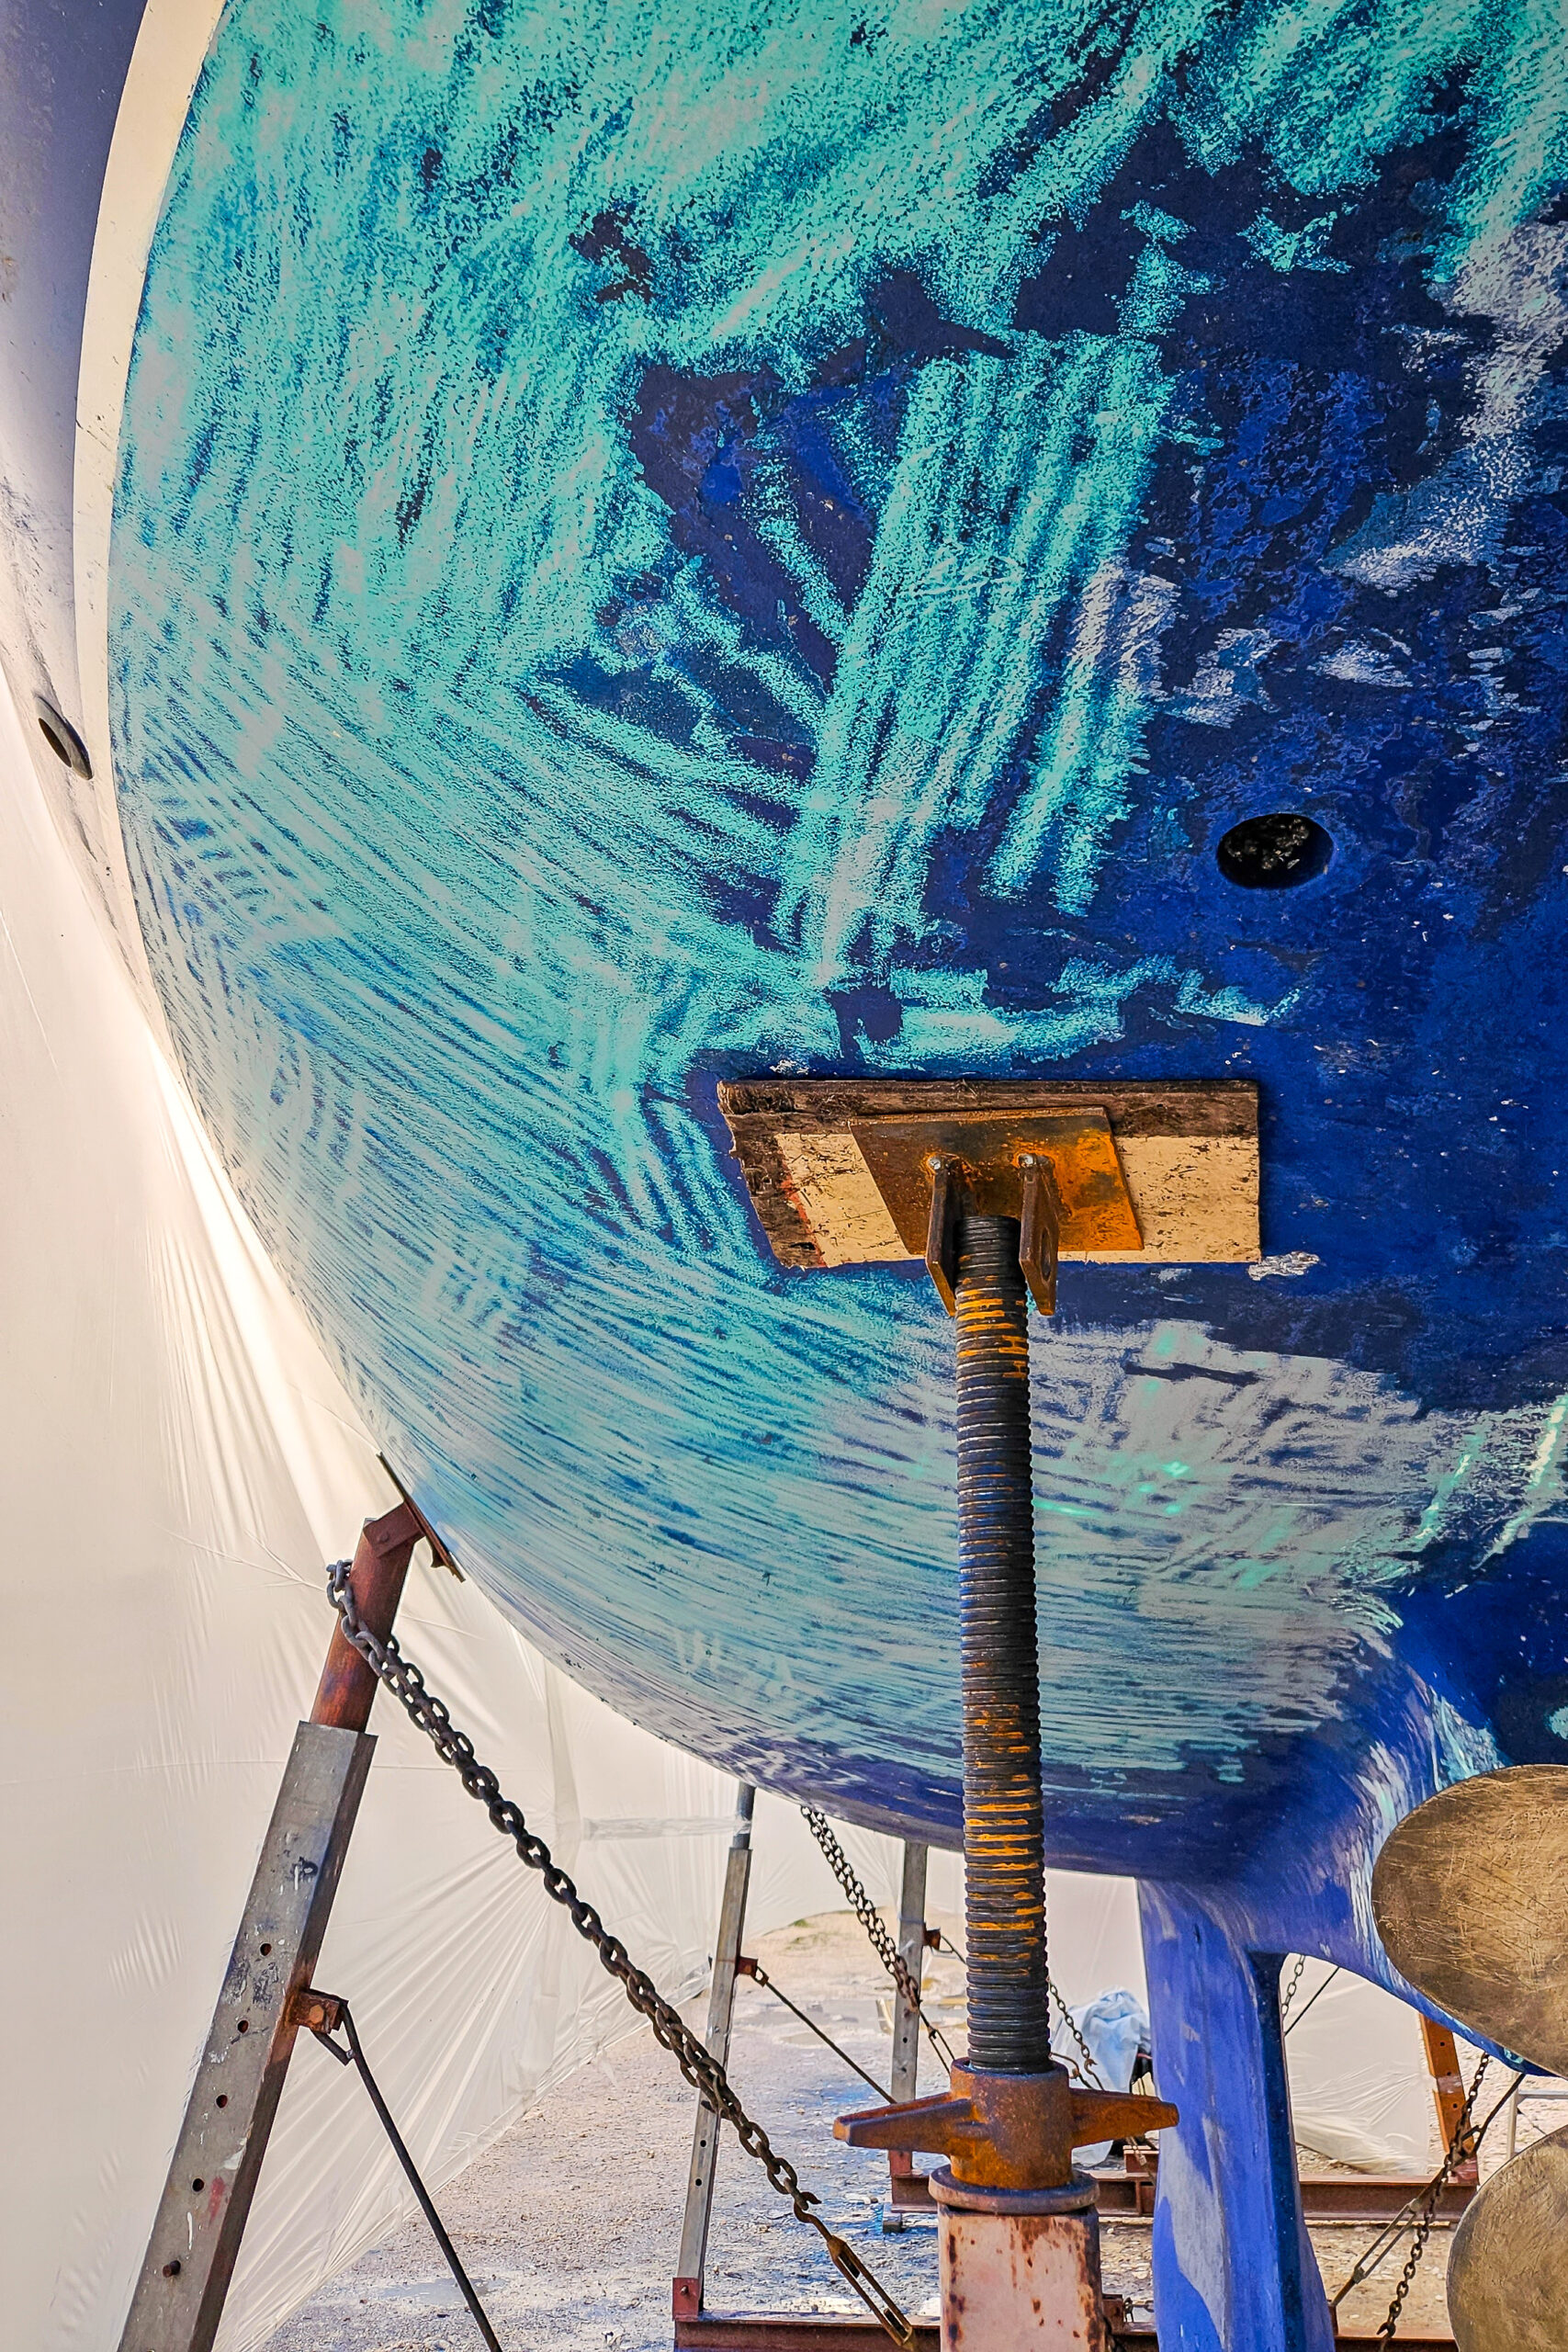
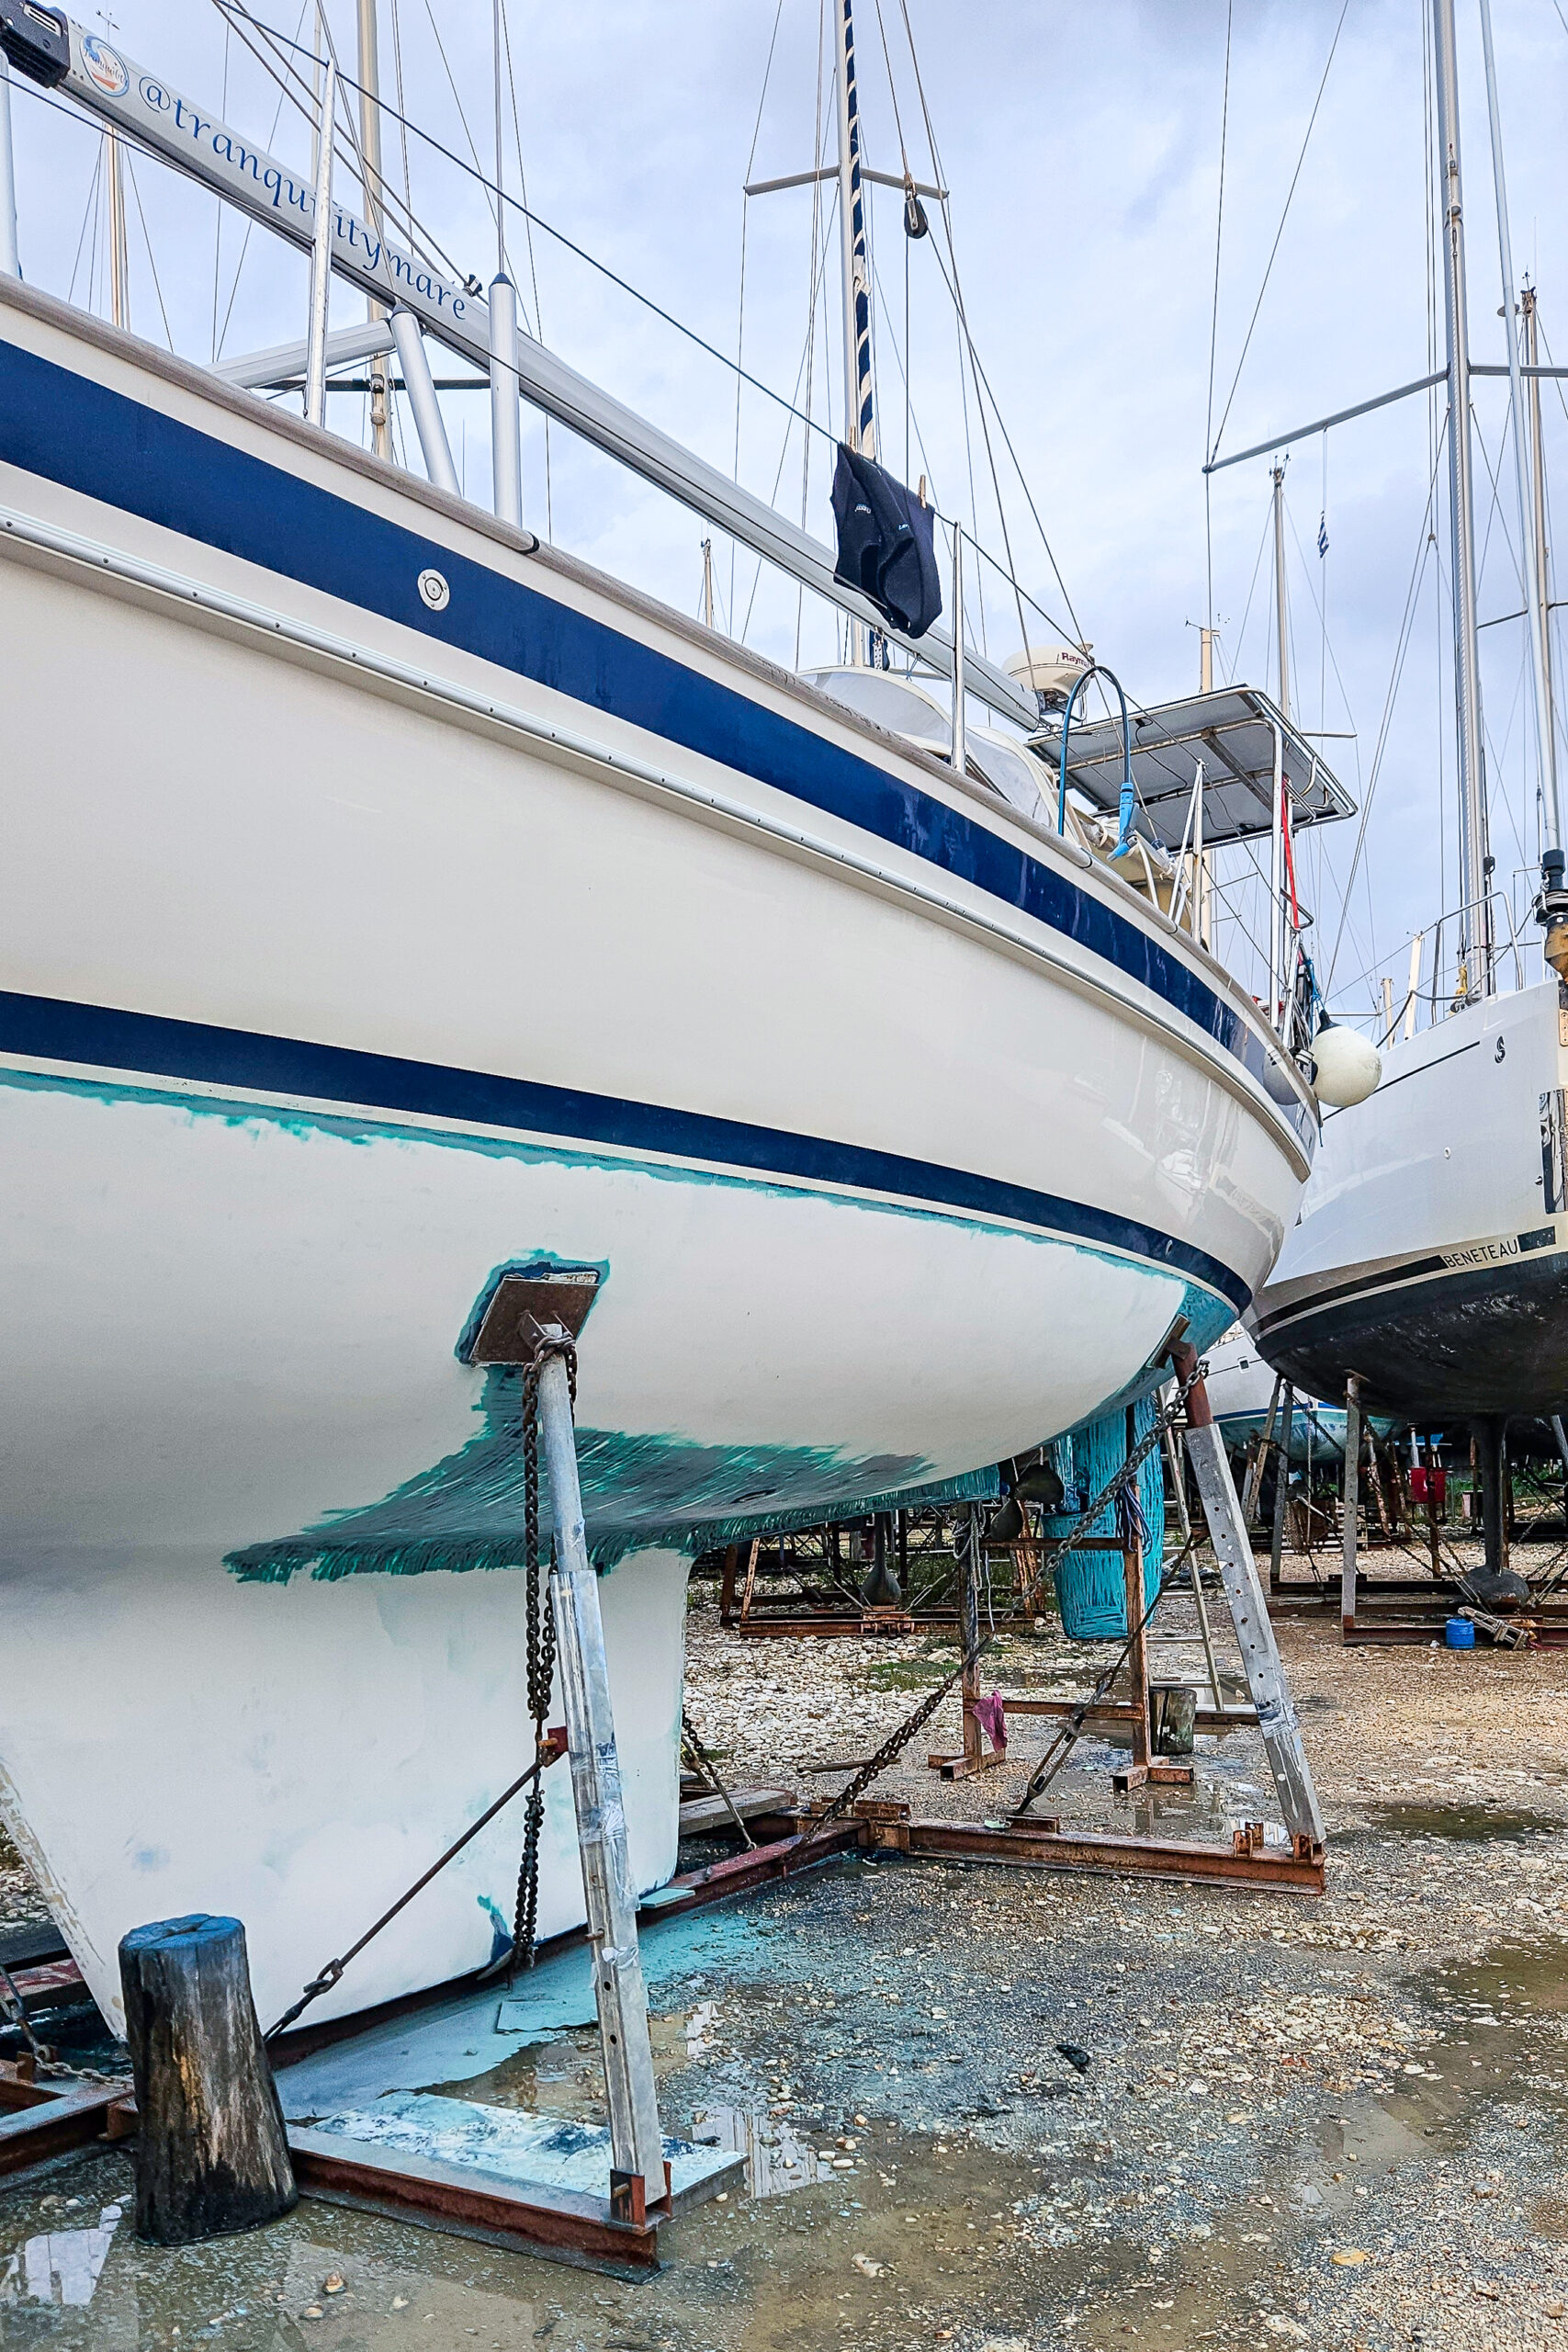
If you need to apply coppercoat on patches under the supports, move the supports after the rest of the coppercoat is fully cured. Remember to leave some product for this additional application.
Step 3. Final burnishing
Before you launch the boat, it is crucial to conduct final burnishing/sanding. It should be done with a very fine sandpaper (400-600 grade). It allows the copper to be exposed and activated. Without this step, coppercoat will not have any antifouling properties. We’ve been advised by the manufacturer that more intense sanding is required in the areas of high fouling. If you need burnishing samples so you know how much sanding is required, don’t hesitate to contact us for details.
After final burnishing the coppercoat is ready for immersion.
Coppercoat maintenance
Although some people believe there is no maintenance required with coppercoat, it can be refreshed or adjusted depending on the usage and sailing area. Fouling characteristics of seas differ around the world and you can adjust your coppercoat antifoul to them.
summary
We will closely monitor its antifouling properties and let you know after some time, how it works. We are not in high fouling areas so far, but expectations are high! Remember, there is no perfect solution for fouling and even coppercoat is not bulletproof. This is why we have another method of stopping the growth that we continue to work on.
Edit: Here, you can find our honest review after one season in the Med.
Hope this post was helpful for you. If you have any questions regarding our experience with coppercoat application or you’re looking for professional advice, don’t hesitate to contact us.


No responses yet