
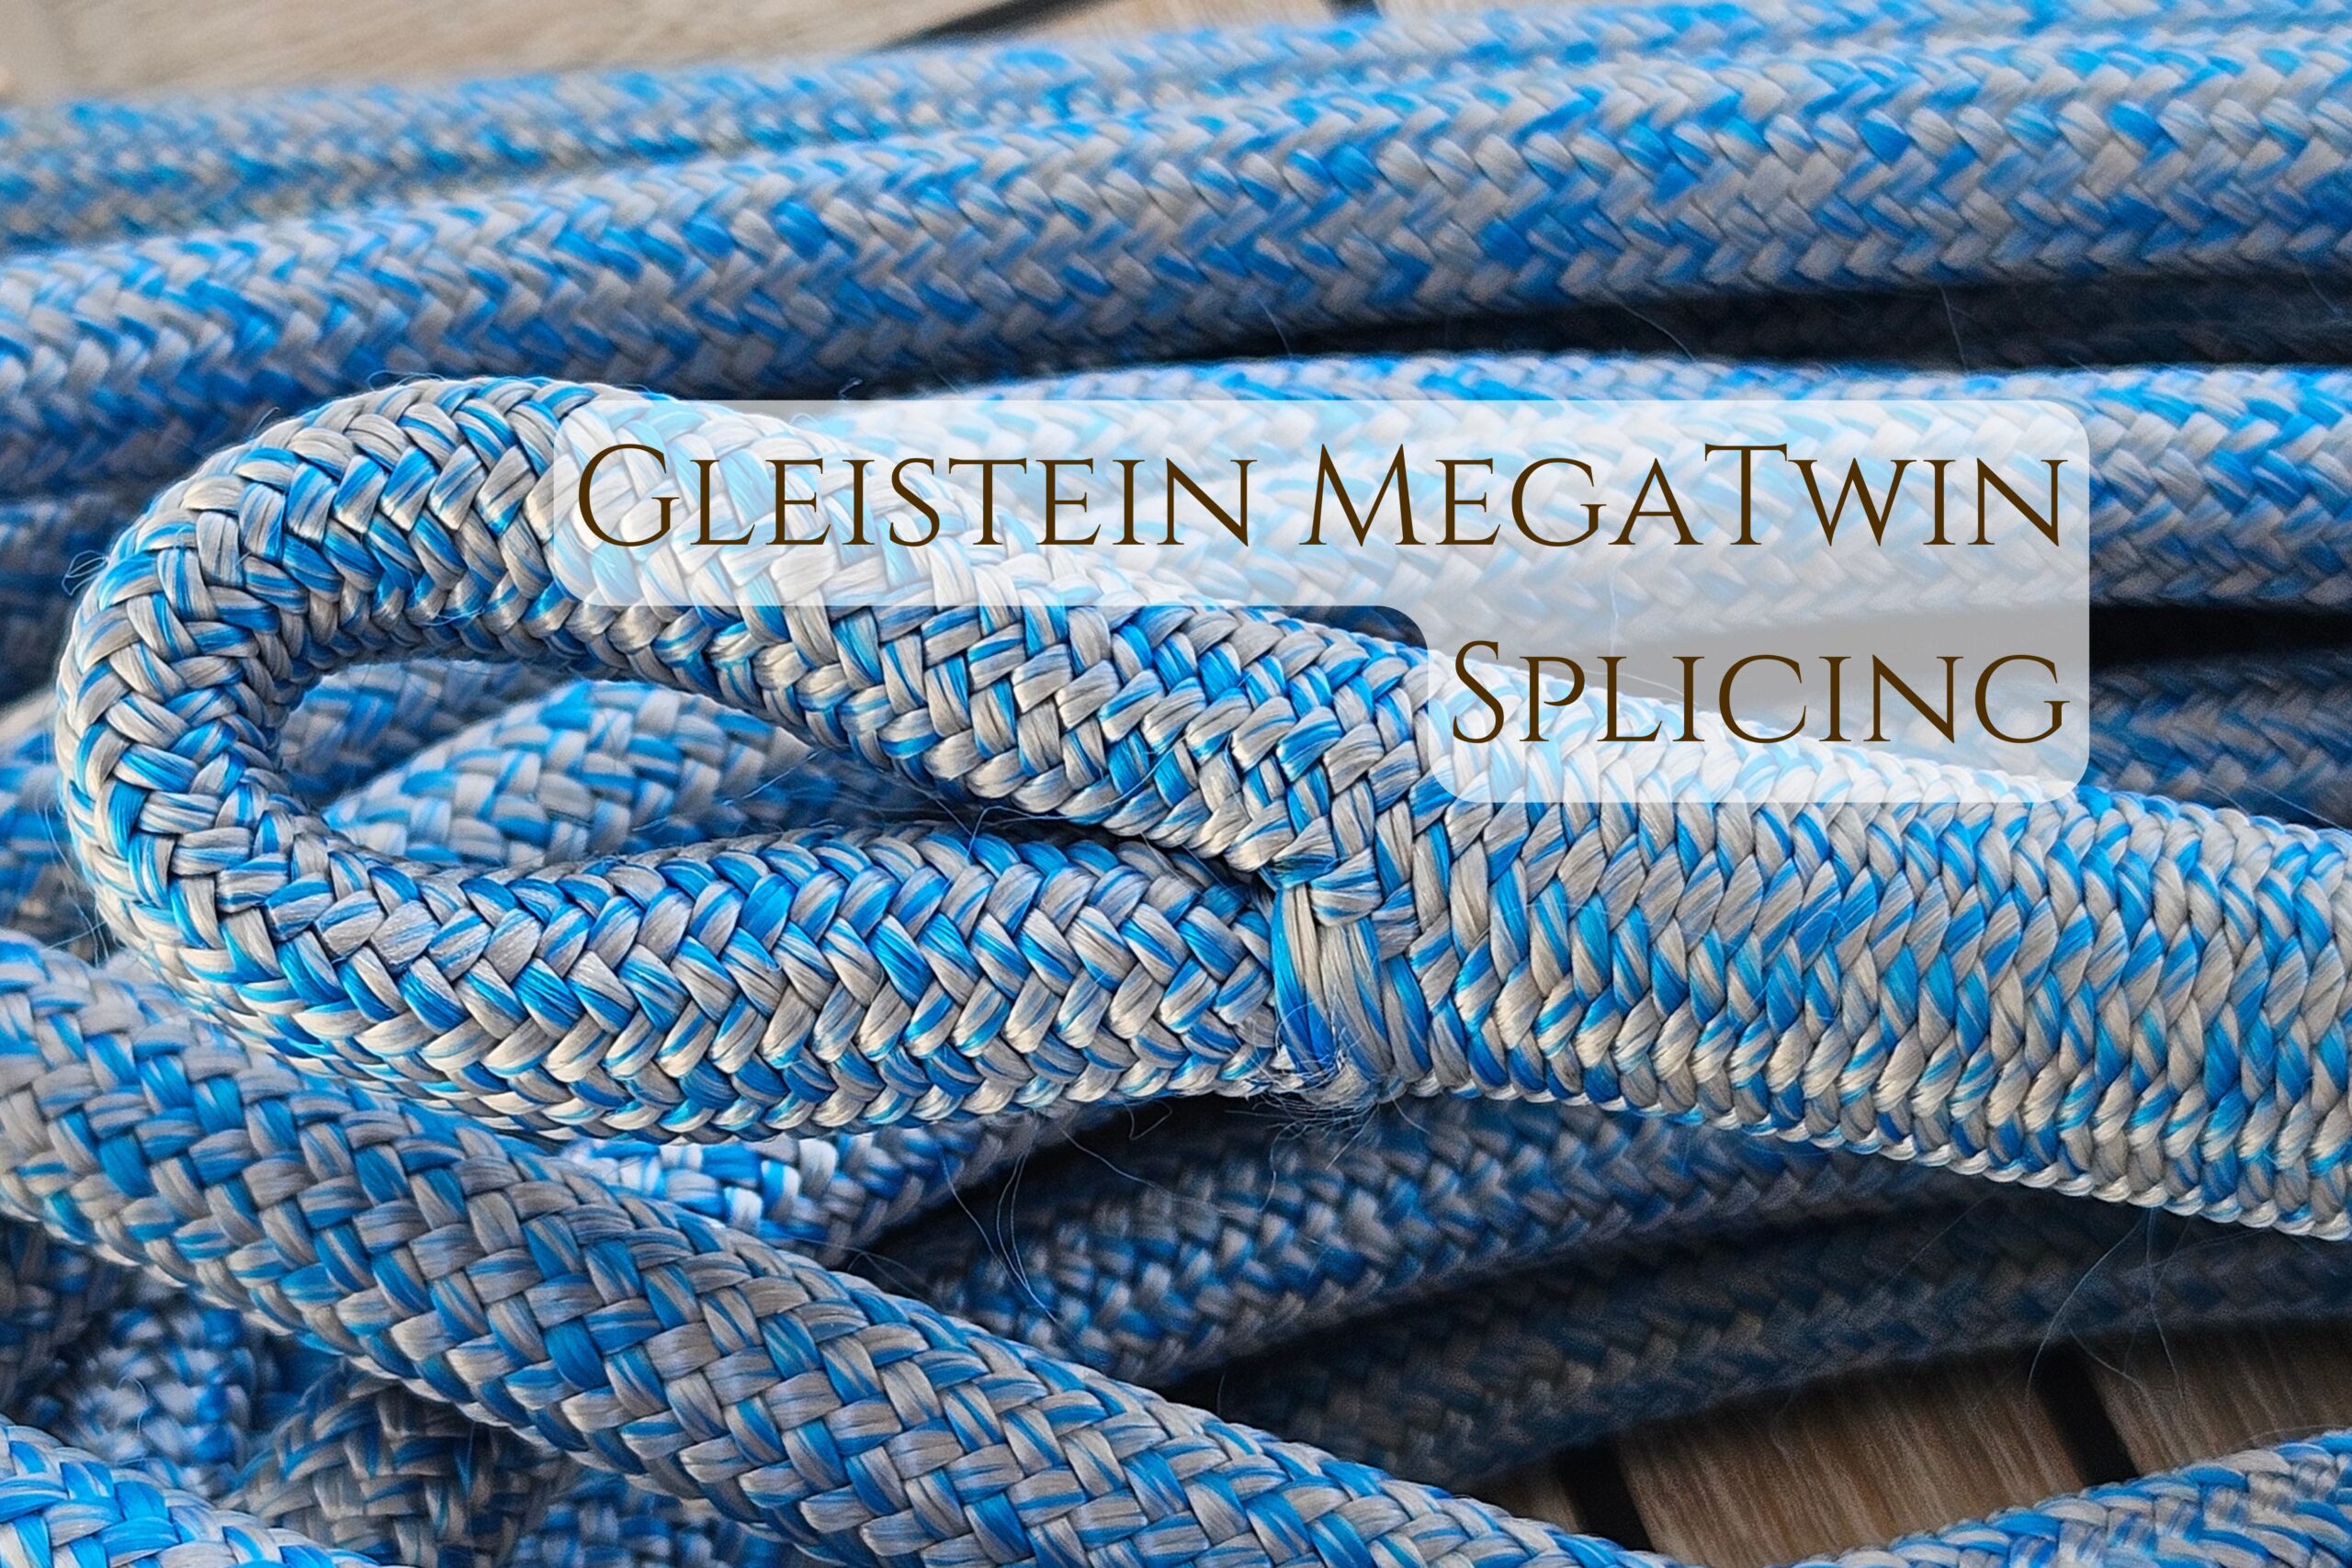
Hi sailors, riggers, and rope enthusiasts! In this tutorial, I’ll show you how to splice Gleistein MegaTwin or any other high‑modulus double‑braided line safely and effectively.
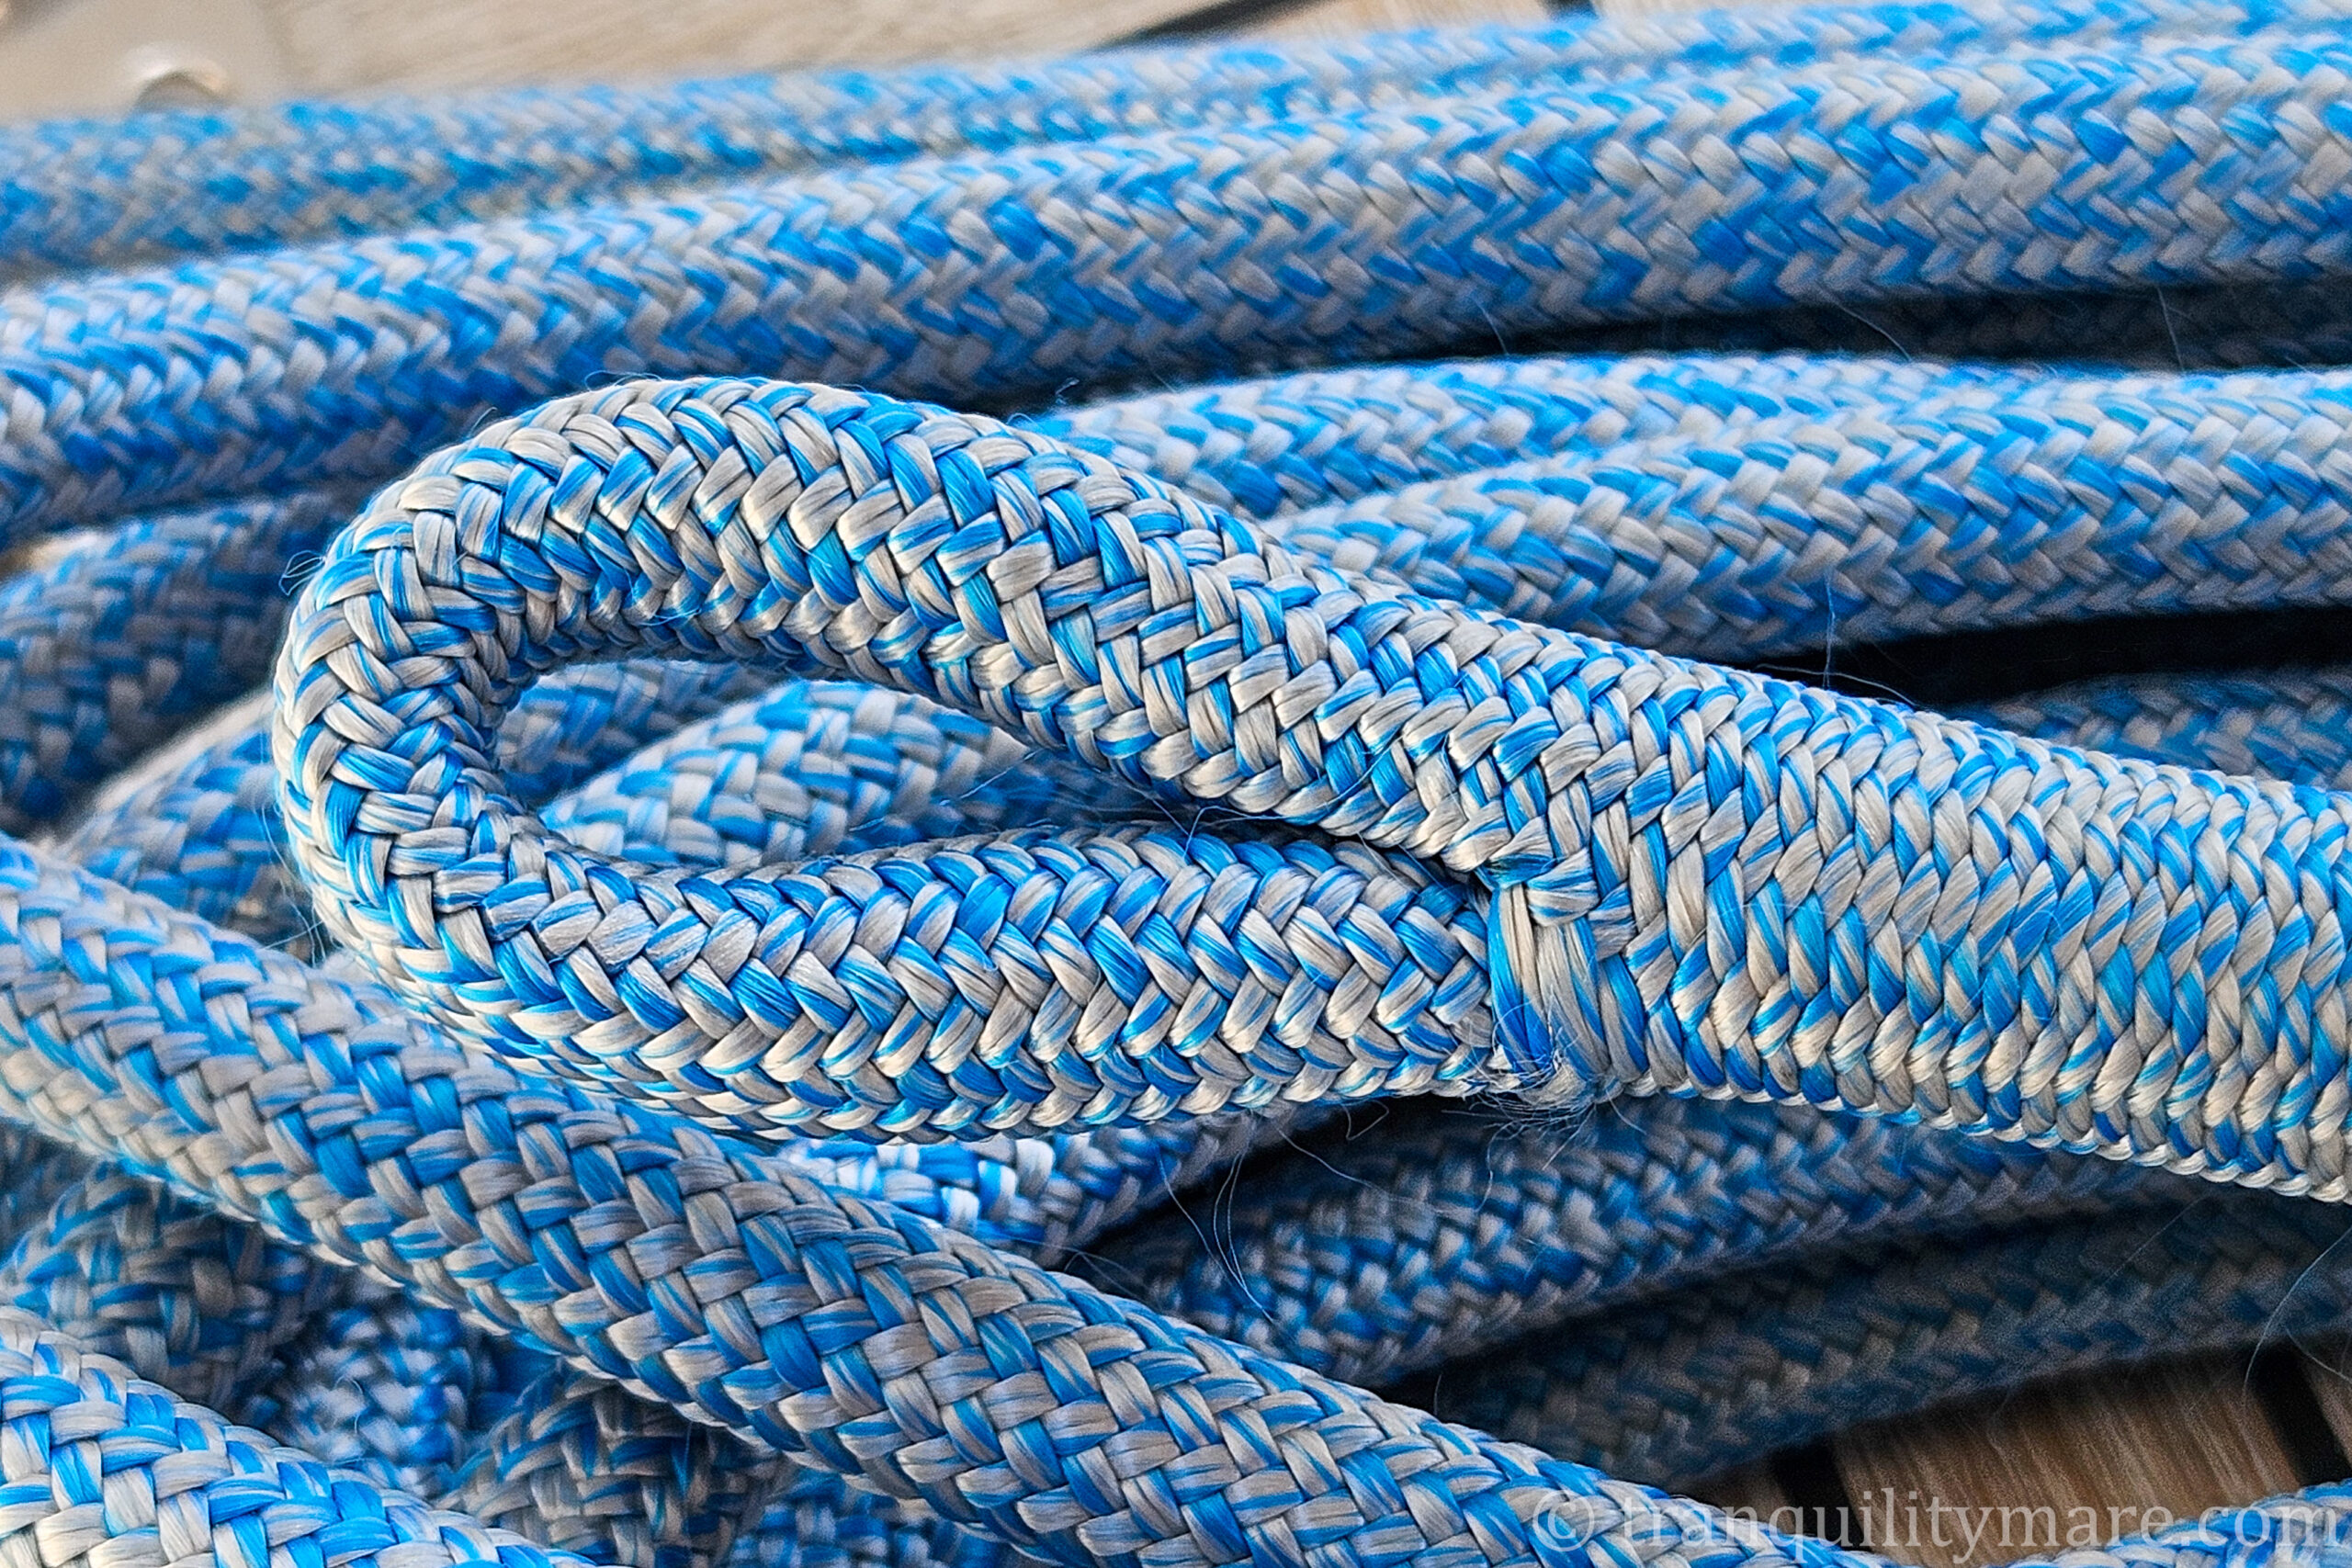
Gleistein MegaTwin
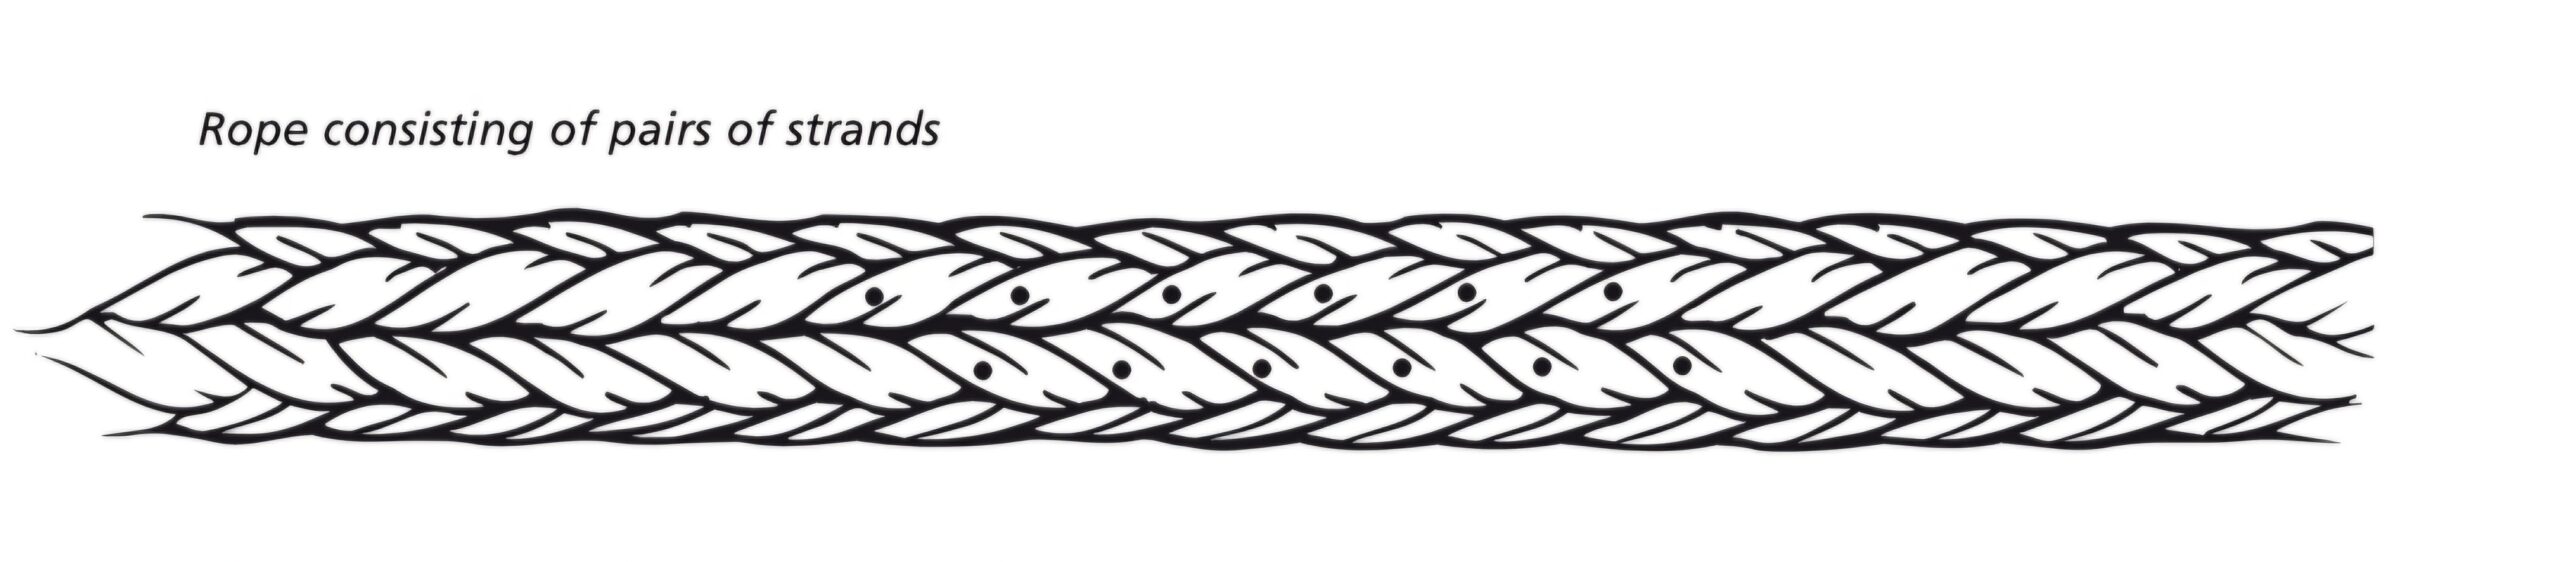
Gleistein MegaTwin lines are not your ordinary double braids—they feature a high‑modulus Dyneema® core, an intermediate friction layer, and a durable outer polyester cover. Because the Dyneema core carries nearly all the load, and the intermediate layer must be carefully managed, splicing these ropes is a bit different from regular double‑braided lines.
Why Splice is Better than the Knot?
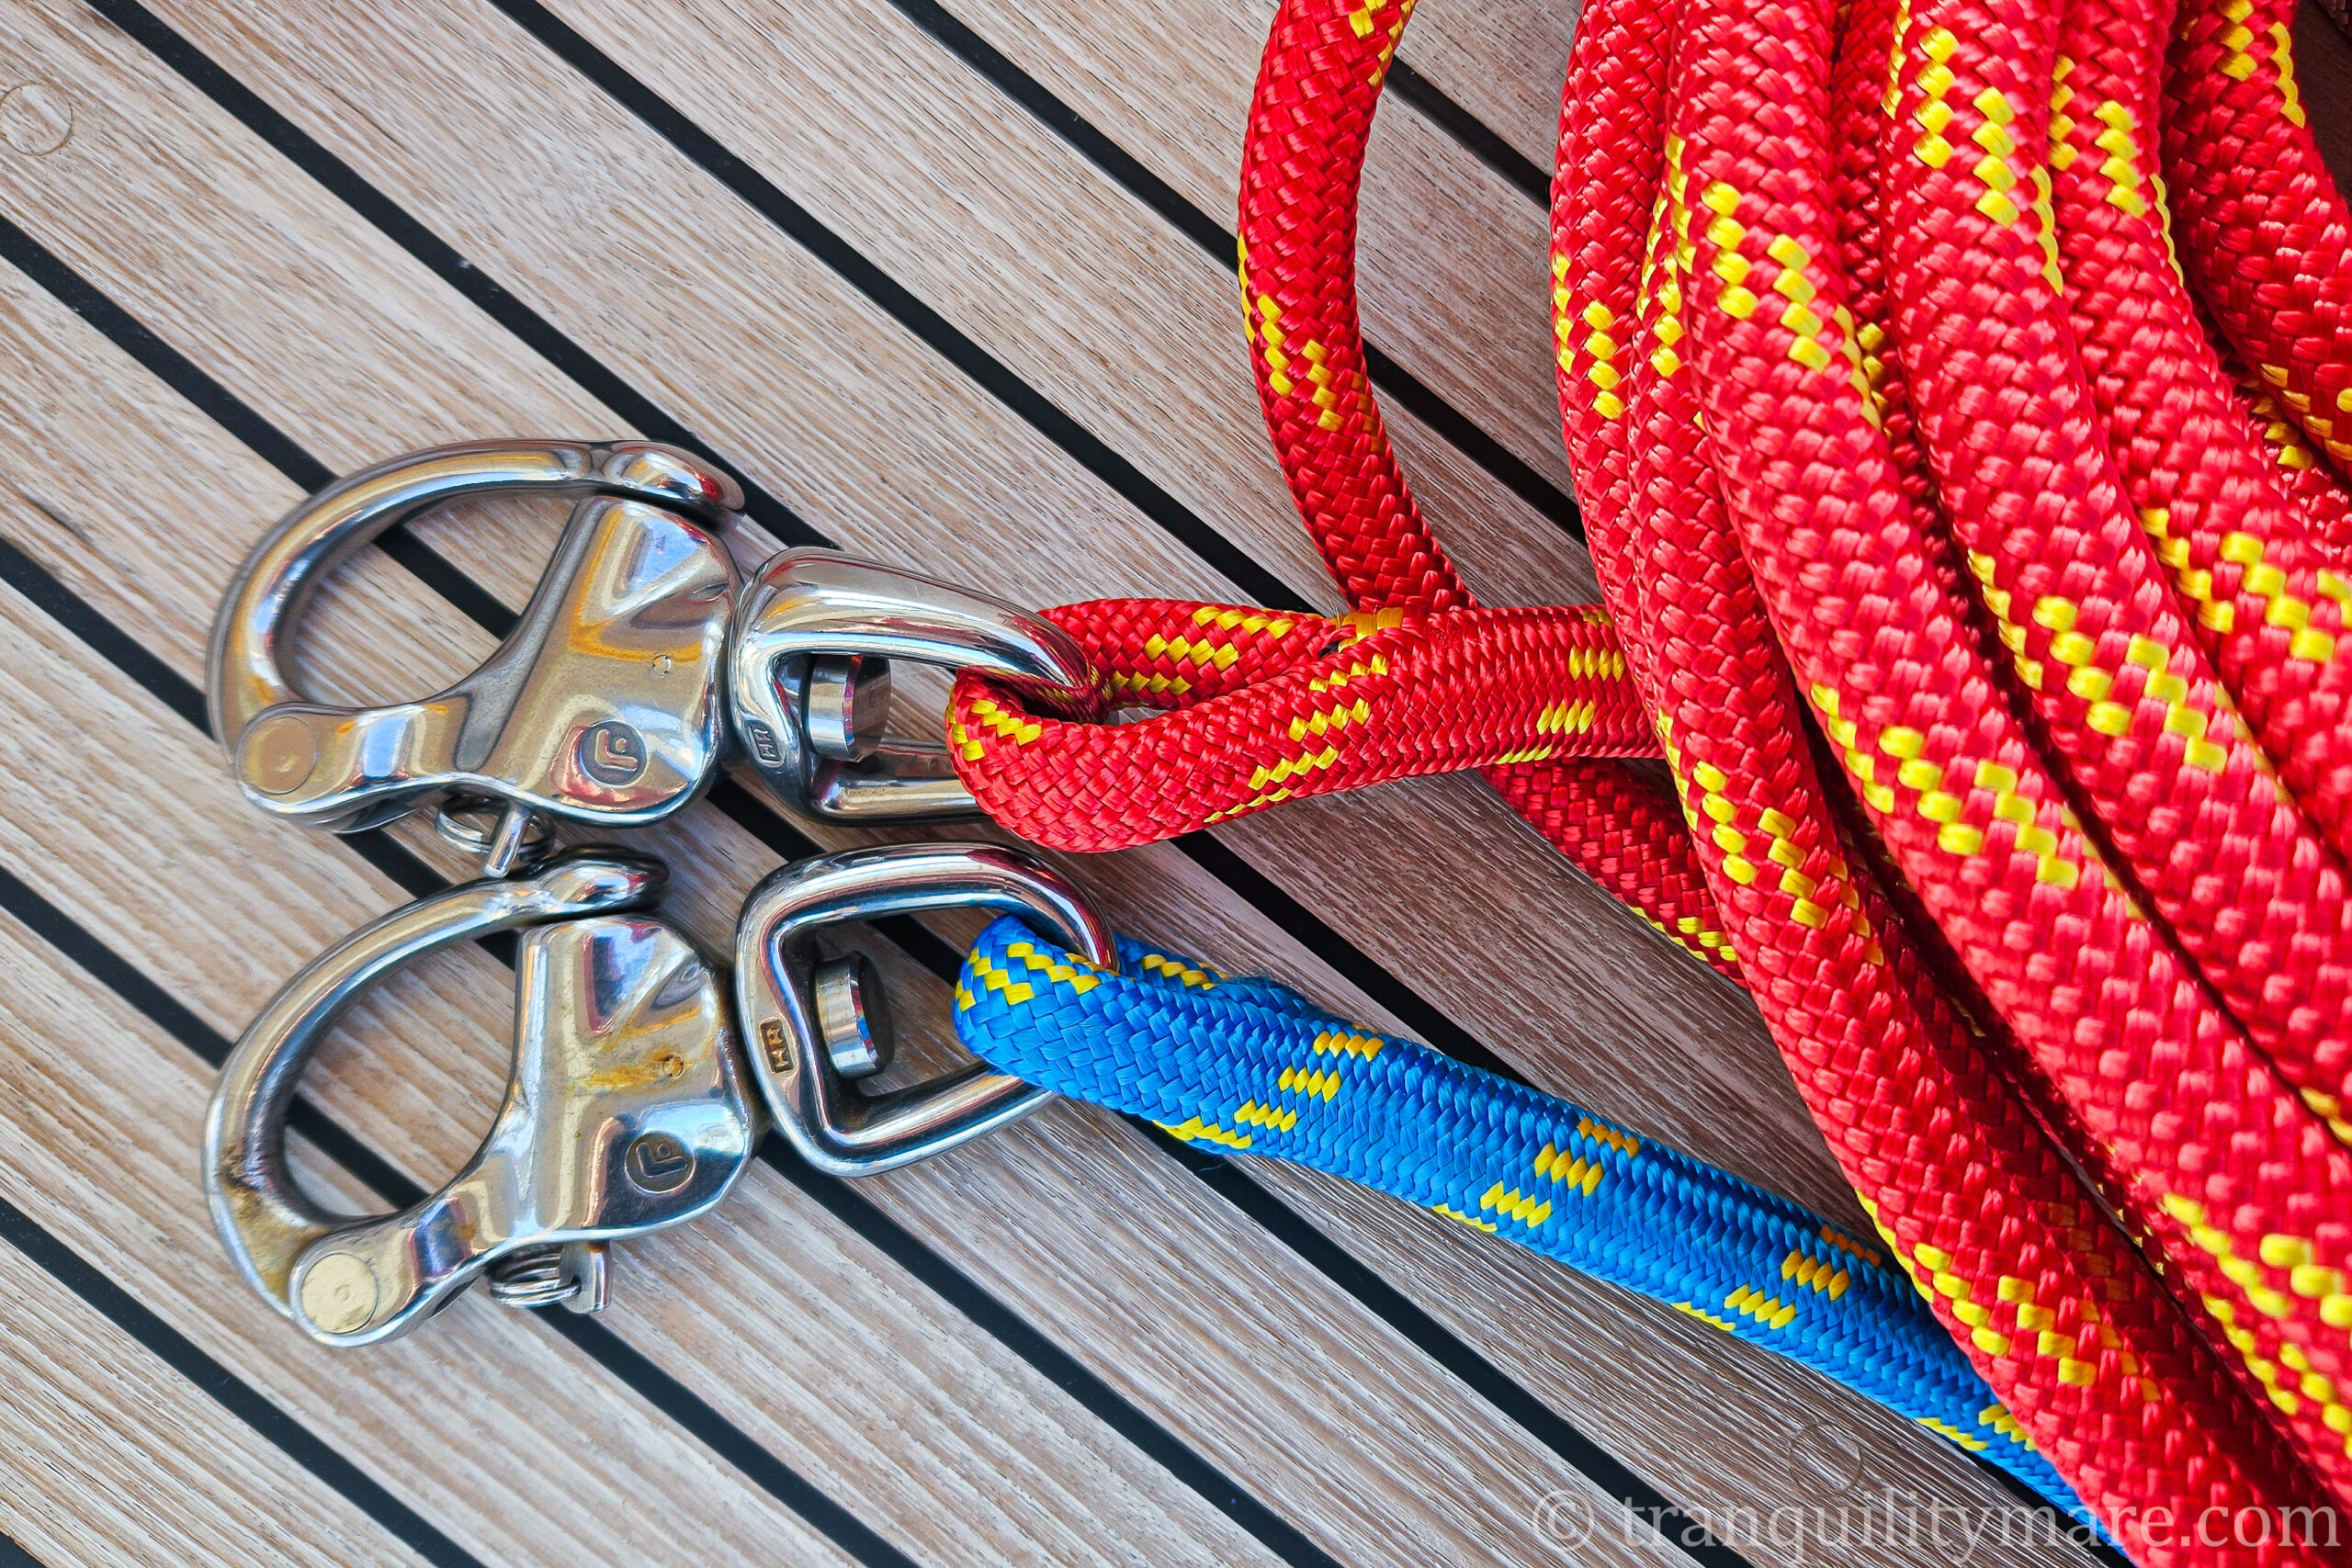
One of the biggest advantages of a splice over a knot is strength: a properly made splice can retain nearly 100% of the rope’s working strength, whereas most knots reduce strength significantly, sometimes by 40–50%. That makes splices the preferred choice for critical load-bearing applications like halyards, sheets, or mooring lines. Splices also create a much smoother, more streamlined profile, which reduces chafe against rigging and other surfaces. Unlike knots, which can catch on blocks or fittings, a splice runs cleanly and is far less likely to snag or get stuck.
What will you find below?
By the end of this guide, you’ll know how to prepare the Gleistein MegaTwin rope, bury the core correctly, taper the cover, and create a strong, smooth splice that retains nearly all the rope’s working strength. Whether you’re making an eye splice for a halyard, sheet, or custom rigging, this step‑by‑step approach will help you get it right the first time.
My tutorial is a mix of the official Gleistein Splice Book, other information available online (although there is not much of it), observations from watching experienced riggers at work, and most importantly my own hands-on experience — including plenty of mistakes along the way.
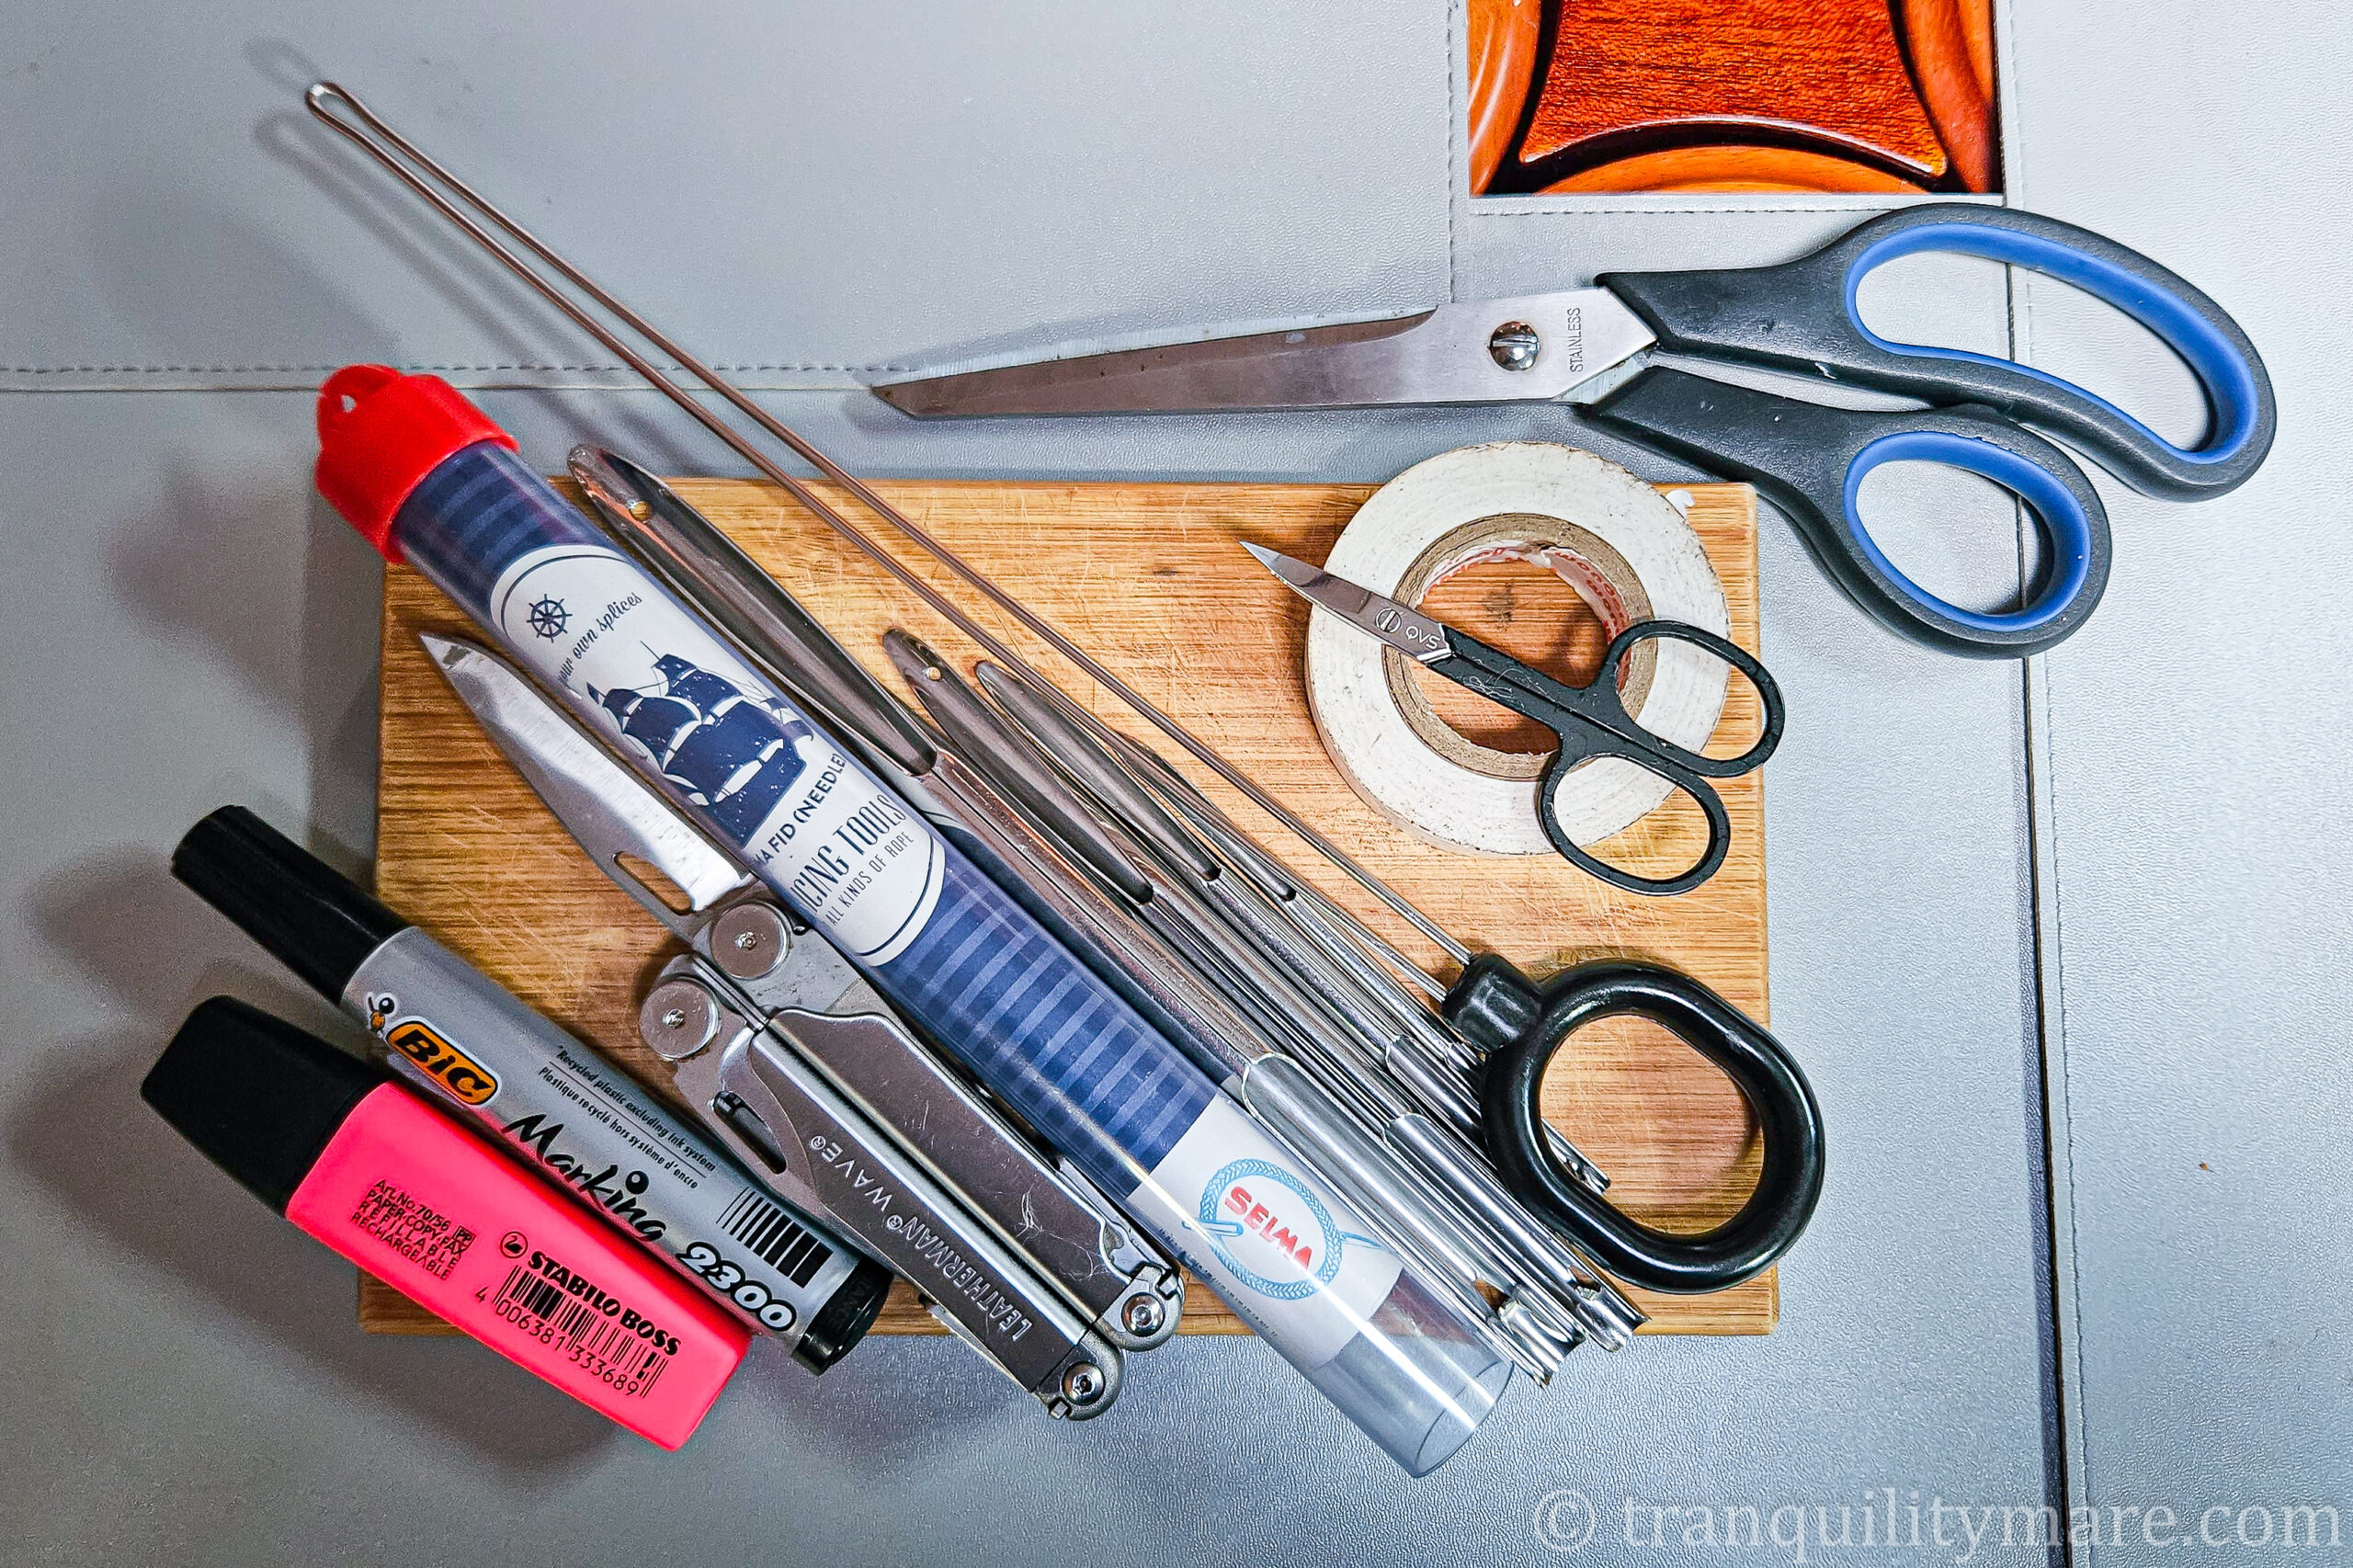
Tools needed
- Splicing fid set (optionally a wire fid / puller)
- Sharp knife or scissors
- Small precision scissors (I use nail scissors)
- Electrical tape
- Marker pen
- Measuring tape
Step 1 – Securing the line
As with all splices, we start by securing Gleistein MegaTwin line.
Some guides specify exactly where to tie off the working end, but in practice I prefer to leave a longer working length—around 5 meters. The shorter the section you work with, the less room you have for mistakes.
On my 39-footer, I usually secure the line at the companionway and lead it forward into the cabin, which gives me enough space to work comfortably.
Step 2 – Determining the size of the splice
Take the rope’s end and measure two fid lengths along the line. Mark this as Marker 1. This is where the splice will begin to develop. From Marker 1, define the size of the eye you want to create. Mark this point as Marker 2.
In simple terms: Marker 1 defines where the splice starts, and Marker 2 defines how large the eye will be.
Step 3 – Measuring full splice length
With the loop formed, check how far the tail runs along the rope. Add a few extra centimeters and make a small mark at that point. The distance from the rope’s end to this mark defines the full splice length.
Measure this carefully and note it down—it’s typically just over 110 cm for a small eye splice, and increases with larger eyes.
Step 4 – Removing Intermediate Core
Slide the cover back and measure the full splice length along the intermediate layer.
Carefully cut and remove the intermediate layer without damaging the core. This part requires patience—any damage to the Dyneema core will weaken the splice.
Once removed, tape the remaining intermediate fibres tightly onto the core. Keep the profile slim—if it’s too bulky, it will get stuck inside the cover in later steps.
Step 5 – Remilking the cover
Cut off around 2 centimetres of the core and milk the cover back over it.
At this point, the rope will feel noticeably looser, since the intermediate layer is gone. Work the rope several times from the knot toward the tail, keeping the core and cover aligned.
Step 6 – Pulling out the core at Mark 1
Pull the core out of the cover at Marker 1. With MegaTwin, this can take some time. The cover is tight, so you’ll need to gently work the fibres apart rather than forcing it. A small fid helps here.
Try not to damage any fibres, and pull the core out as cleanly as possible. Once it’s out, mark the exact point where it exits the cover.
Step 7 – Tapering the cover
Double-check that nothing has slipped and that your markings are still accurate. Measure about ¾ of a fid length along the cover tail and cut off the excess. This sets you up for tapering.
Now taper the cover. This is a key step and worth doing carefully. You’ll be removing about 50% of the strands, but it has to follow the pattern below—not randomly.
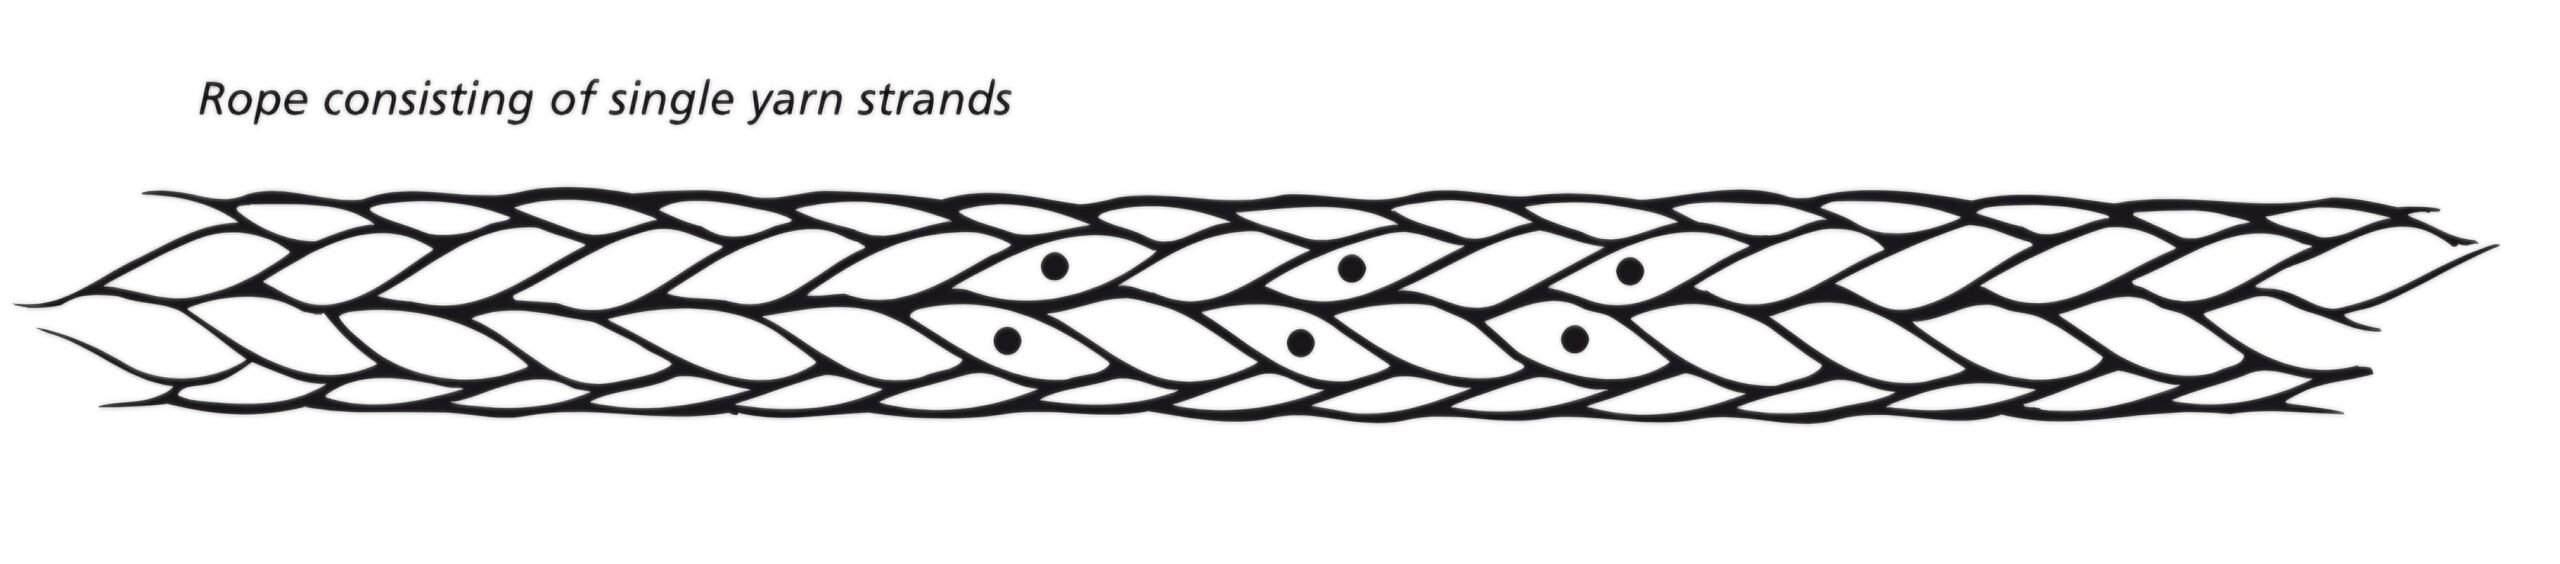
Proper tapering ensures a smooth transition and maintains strength. Cutting random strands weakens the rope and makes the splice look rough. Start tapering about 1 inch from Marker 1 and continue until the strands are reduced evenly. I use small nail scissors here for precision.
Step 8 – Tapering the core
Taper the core in the same way, starting about one fid length from the end. Pattern provided.
As with the cover, keep it even and gradual—this has a big impact on both strength and how clean the finished splice looks.
Step 9 – Splicing cover into the core
Splice the cover tail into the core, as close as possible to the point where the core exits the cover. You can use some tape at the end to stop the cover from fraying.
Hold the core and start milking the rope firmly to tighten the connection. Work it repeatedly until the transition feels tight and smooth. In the video below, outcome is too bulky so do not repeat my mistakes!
You can tape this junction to keep it from moving during the next steps or just remember to hold it tight. Alternatively, you can use small pins do prevent the connection from sliding. Taper the cover and bury it into the cover completely.
Step 10 – Pulling out the core at Marker 2
Re-milk the line. Now pull the core out at Marker 2 until you reach the section where the intermediate layer was taped. Remove the tape carefully.
Be gentle here—if the intermediate layer slips back inside, it can be very difficult (or impossible) to recover.
Step 11 – Final splicing
At this point, you have a loop and a loose tail. The part that it between, is your eve that we are creating. Milk the rope so there’s no excess slack in there. Then use a fid or puller to run the tail inside the loop, burying it in the loop starting from the Marker 2.
Pull it through fully and continue burying until everything is inside. Shape the eye as you go and taper the end if needed. Milk the splice thoroughly. You’re aiming for a smooth, streamlined result with no lumps, no loose fibres, and no visible transitions.
Step 12 – Tightening the eye
Hook the eye onto something strong and load it a few times.
This helps everything settle and tighten up.
Step 13 – Burying the splice by hand
Now start milking the rope from the knot toward the splice.
You’ll notice excess cover material being absorbed as the splice begins to bury itself. The further you go, the more force is required. At some point, you’ll reach a stage where you can’t pull any further by hand and you are holding a “heart shape”.
Step 14 – Burying the splice with winch
Remove any remaining tape. This is where extra force comes in. If possible, get help from another person and then use a winch (unless you have a hydraulic puller). Apply steady tension and continue working the rope. Even when it feels like nothing is moving, the splice will slowly continue to bury. Constant remilking during the pulling helps a lot.
Be careful here—loads can get quite high.
Step 15 – Working the splice
If the splice still won’t fully bury, use a combination of methods: hammering, working the fibres with a fid, and repeated loading with a winch. This part can take time—sometimes up to an hour—but eventually the splice will settle into place.
Occasionally, a small section of the splice may remain visible. That usually means something was slightly off earlier (most often not re-milking enough or measurements). The splice will still work, but it won’t be perfect.
Summary – Splicing Gleistein MegaTwin
Splicing Gleistein MegaTwin isn’t the quickest job on the boat, but it’s one of those skills that really pays off. Because of the Dyneema core and intermediate layer, it takes a bit more care than a standard double braid—but once you understand the process, it becomes much more predictable.
The key points are simple: measure carefully, taper both core and cover properly, and take your time with the final bury. Most problems come from rushing those steps or skipping precision.
Don’t be surprised if your first splice isn’t perfect. These lines are tight, and the final bury can take serious effort—involving a winch and a fair bit of patience. That’s completely normal.
Once finished, though, you end up with a clean, strong eye that retains nearly all of the rope’s strength and will handle real loads with confidence. And like most rigging skills, it gets easier—and better—every time you do it.


Brak komentarzy